Introduction
Data Filters can be applied to a Form, allowing users to perform data filtering by column. Within a Dashboard, Data Filters from one Form can be linked to Data Filters on other Forms. Let’s see how we can configure Data Filters for that scenario.
Filter Specific Columns
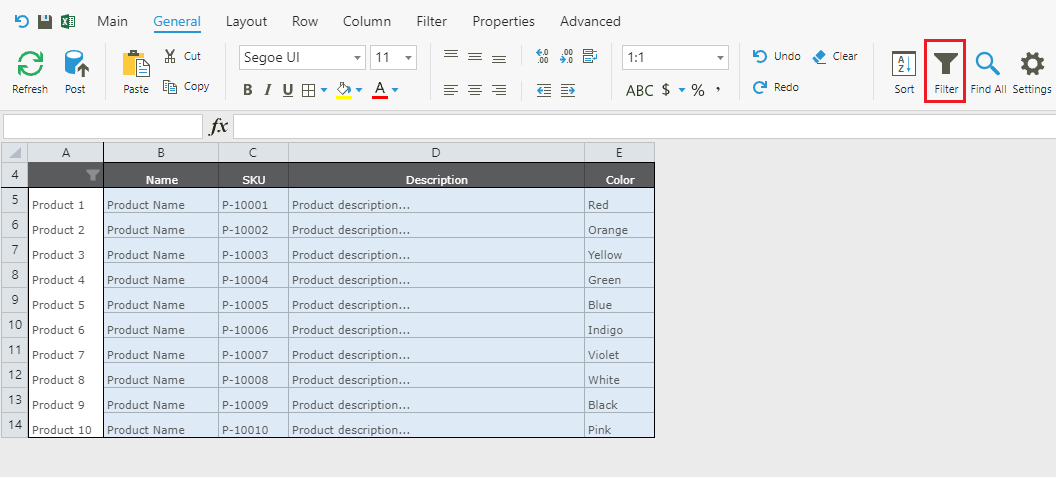
1. Go to the target Form and select Filter.
2. Select Managed Data Filter from the Filter drop-down.
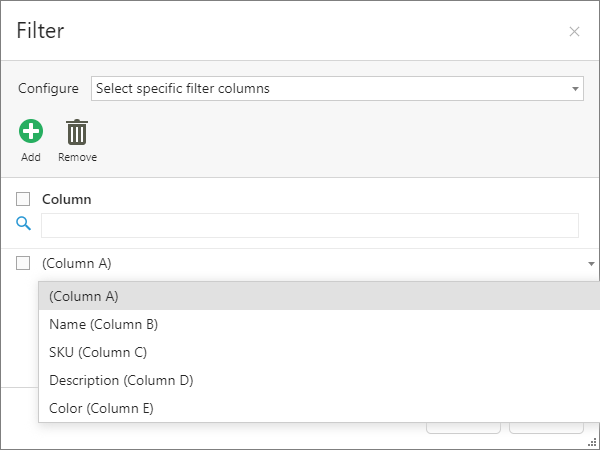
3. Change Configure to Select specific filter columns.
4. Click Add  and select which columns you want to be able to filter.
5. Click OK to finish.
Repeat the same process on other Forms with which you want to link your Data Filters.
Configure Data Filters
Once you have added all the Forms to a Dashboard, you can configure the Data Filter through the Form's settings.
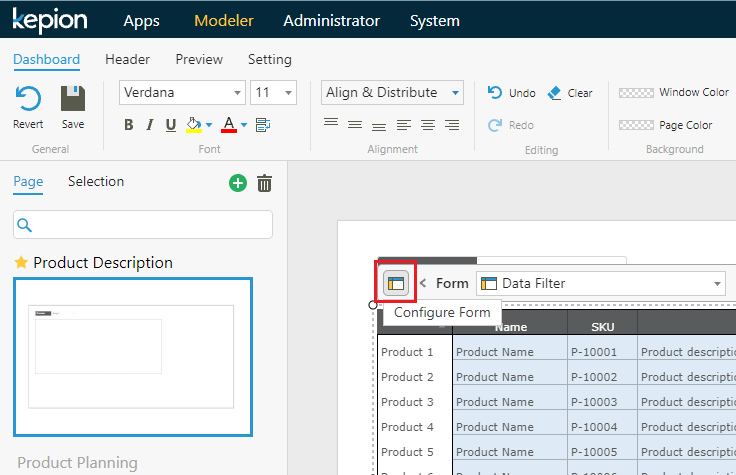
1. Go to the Dashboard page with your target Form.
2. Select the Form > Configure Form ( ).
).
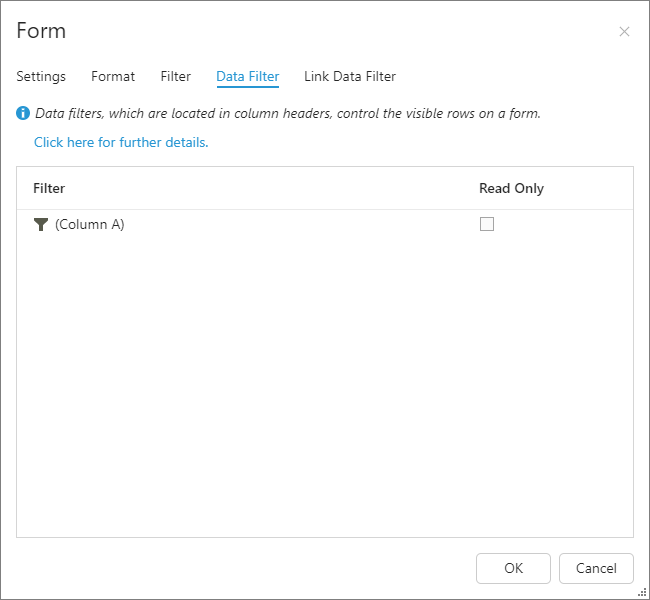
3. (Optional) In the Data Filter tab, you can see all Data Filters configured for this Form and set them to read-only.
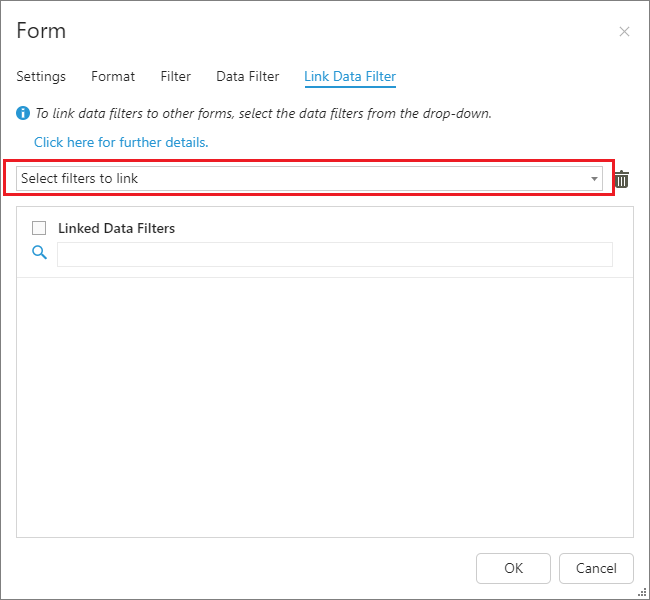
4. In the Link Data Filter tab, use the drop-down to select filters to link.
5. Select OK.
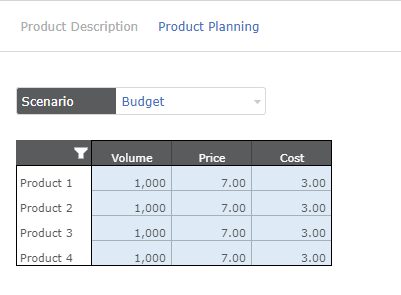
Go to the Preview tab and verify that the Data Filters are linked together. We're going to filter the top four products in the Product Description Form

Those four products have now been automatically selected on the Product Planning Form.