Introduction
Measure Groups make for easy data management and reporting. The Core Measure Group (CoreMG), for example, is automatically generated when a Model is created. CoreMG contains all the Model Dimensions.
Users also can create their Measure Groups, typically for the following types of data:
- Actual Data
- Reporting Data
- Archive Data
- Valid Relationship Data
In any of these scenarios, a Measure Group is defined by its required Dimensions. To illustrate how Measures and Measure Groups work, we will create a Measure Group called REV-VPC with three Measures to store Volume, Price, and Cost values.
Note: All Input Models should stick to using CoreMG (i.e., the default Measure Group) since the Writeback Partition is defined in CoreMG.
Configure Measure Group
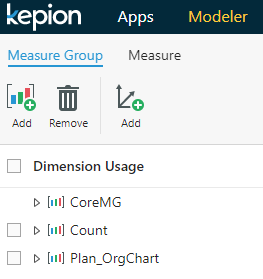
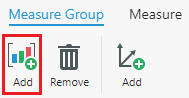
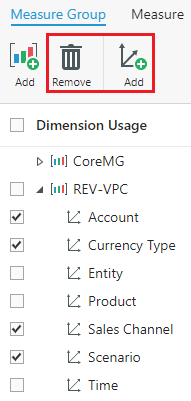
1. Select the first Add button in the Ribbon to create a new Measure Group.
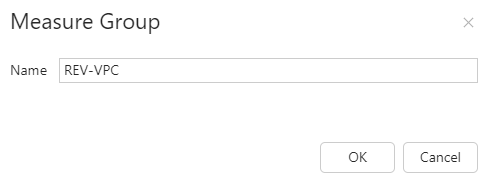
2. Name the Measure Group in the pop-out window and click OK.
3. Click the Save button in top-right.

4. By default, the new Measure Group will have all the Model Dimensions. Modify the Measure Group using the Remove and the second Add button.
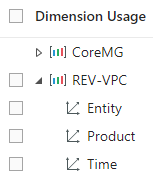
In our example, we will need only the Entity, Product, and Time Dimensions.
Here is the end result:
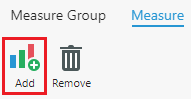
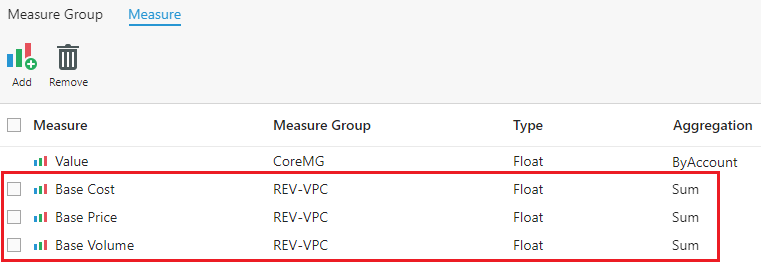
5. Go to the Measure tab and select Add.
6. Configure the Measure and then click OK.
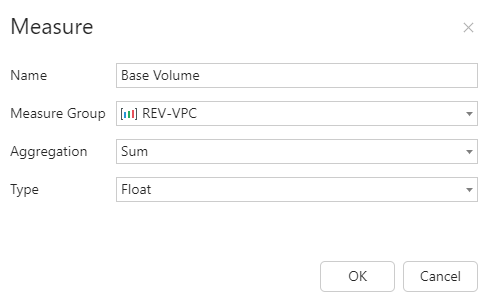
7. Repeat step 6 to add Base Price and Base Cost Measures.
Create Partition
Now that we've created the REV-VPC Measure Group with three measures, we can define partitions based on the Measure Group.
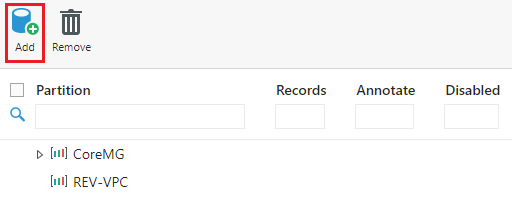
1. Go to the Data node in the same Model and click Add to create a new partition.
2. Name the partition and select the Measure Group and the Storage Mode.
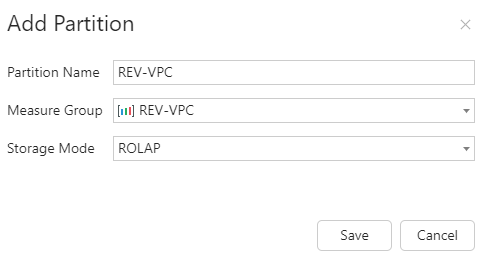
3. Click Save.
In the relational database, there's no difference between CoreMG partitions and user-defined partitions.

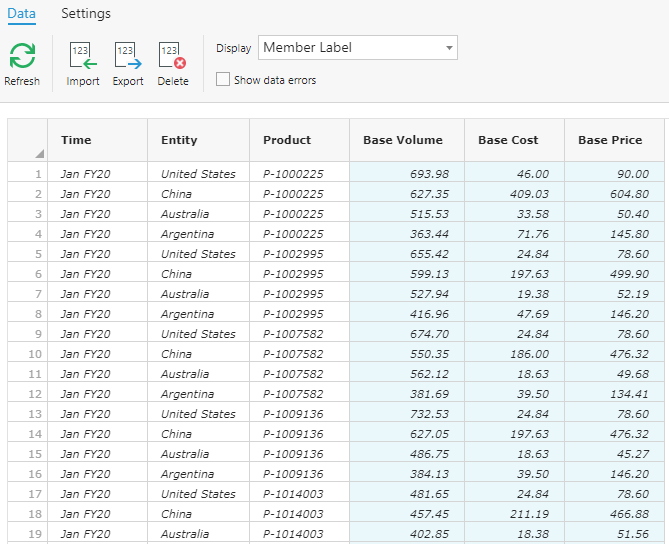
Add Data
Let's insert some records into this table and take a look at how we can access these records in both a Form and Pivot Table.
1. In the Layout tab of the Form Editor, put Measures.Measures on the Column. Configure the rest as desired.
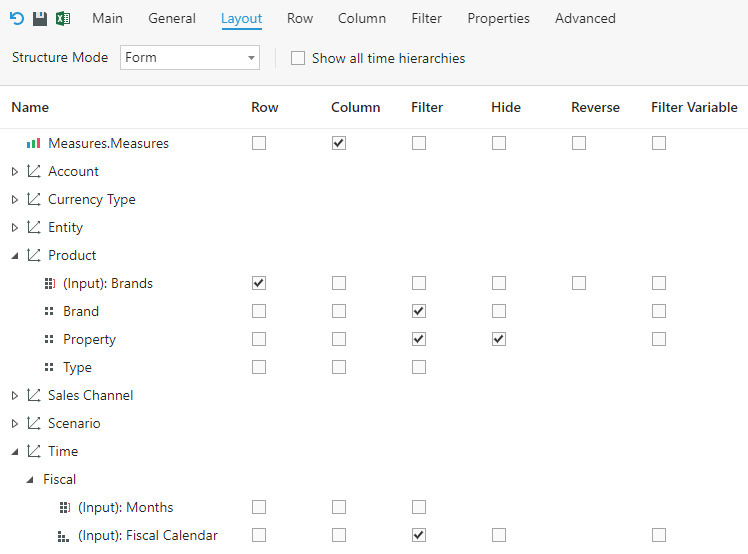
Note: Use of Measures in a Form is the same as Dimensions.
2. Define the Row as desired.
3. Configure the Column with the three measures.

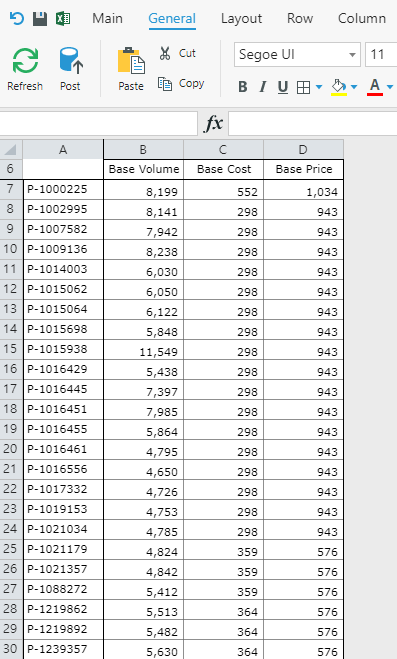
And this is the Form:
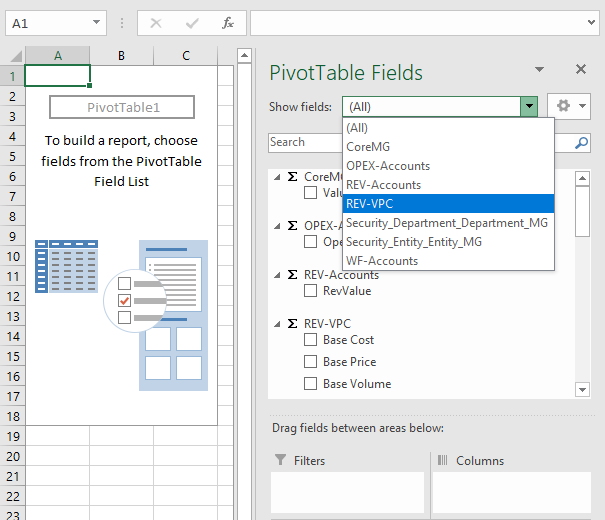
User-defined Measure Groups and partition data are also available in Pivot Tables. You can use the Show fields drop-down in Excel to narrow down by Measure Groups.