
This article will show you how to build PerformancePoint reports and dashboards and Power View from planning data collected by Kepion.
PerformancePoint
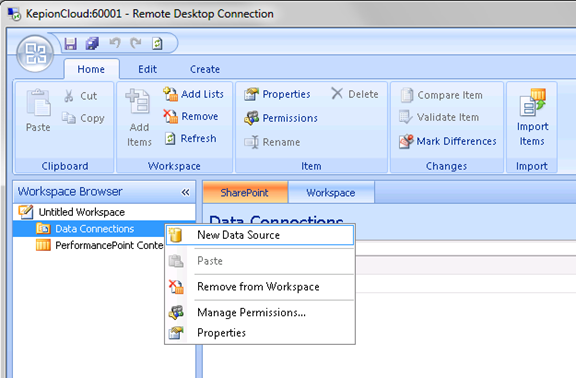
1. Open the PerformancePoint Dashboard Editor.
2. Right-click Data Connections and select New Data Source.
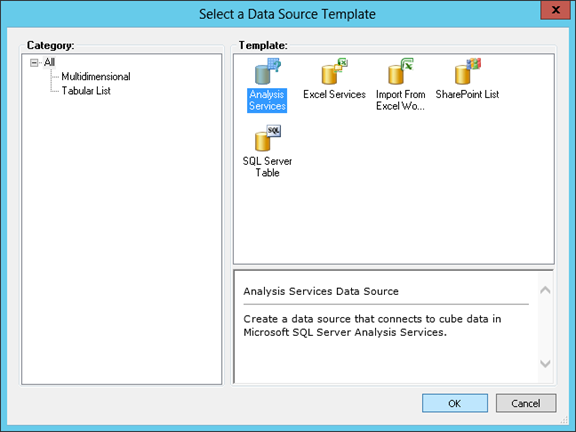
3. Choose Analysis Services and click OK.
4. Define the Connection and Authentication settings as needed.
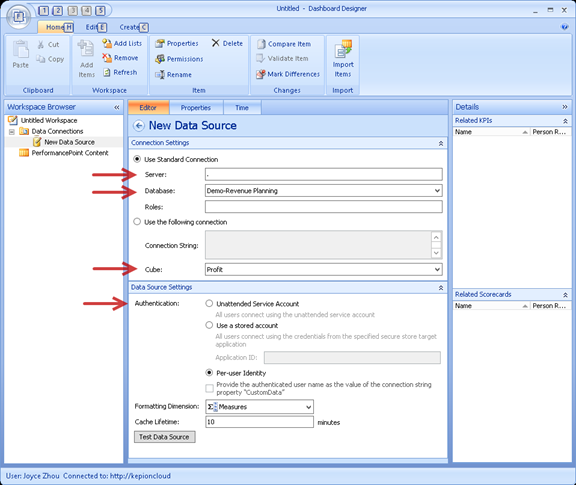
5. Build your KPIs, Scorecards, Reports, and Dashboards from this Data Connection.
Power View
We can build PowerView report directly in SharePoint using SSAS Tabular.
1. Open Microsoft Visual Studio.
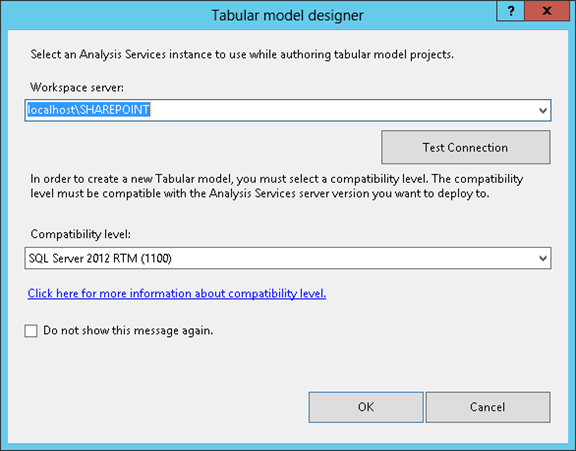
2. Create a New Analysis Services Tabular Project and give it a proper name.
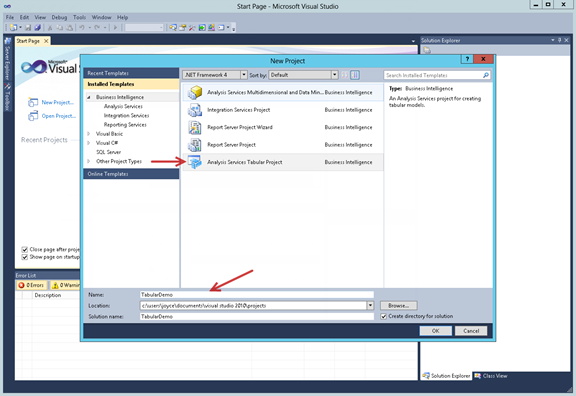
3. Choose the AS instance as the Tabular data source.
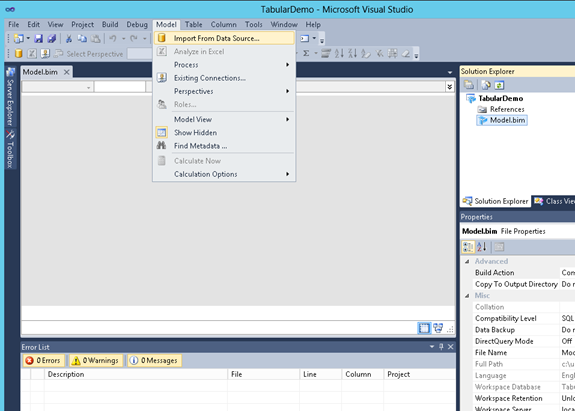
3. Go to Model > Import From Data Source.
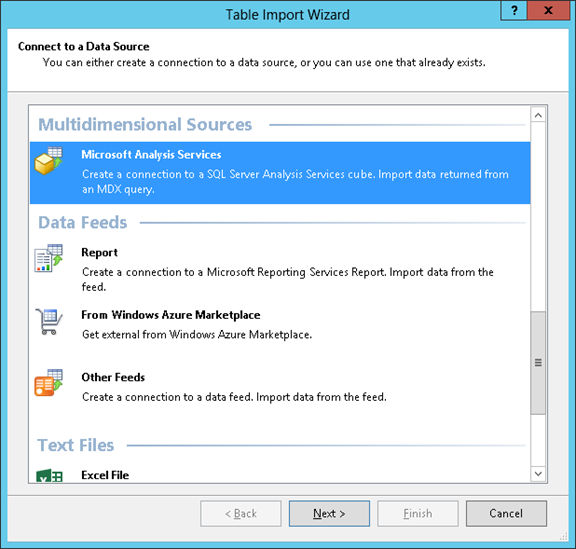
4. Select Microsoft Analysis Services and follow the Table Import Wizard to import data.
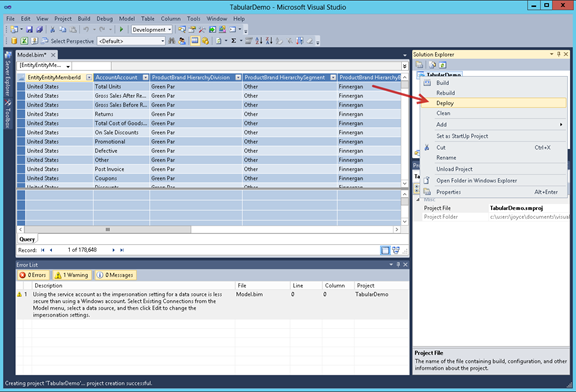
5. After the table is imported, right-click the project name and click Deploy.
6. Go to the Documents library in SharePoint.
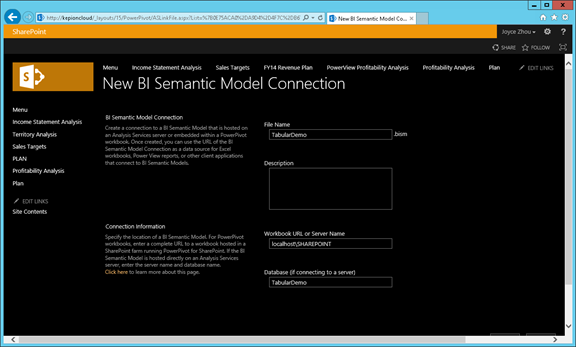
7. Click FILES > New Document > BI Semantic Model Connection.

Note: If you do not see BI Semantic Model Connection option in the New Document dropdown list, please refer to Microsoft's help article.
7. Enter the connection information, and Save the project.
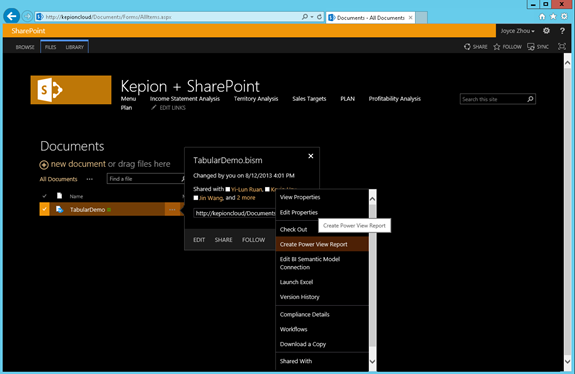
8. Select Create Power View Report from this Tabular connection.
9. Save your Power View Report and click the report to open it.
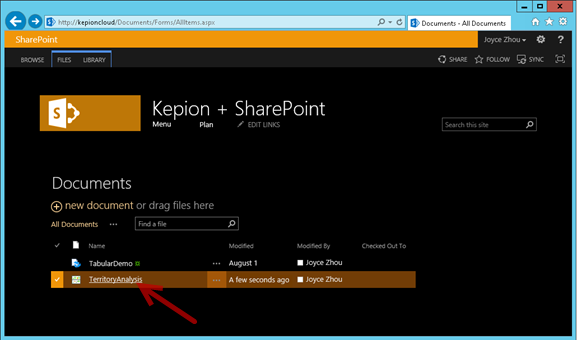
10. Copy the URL.
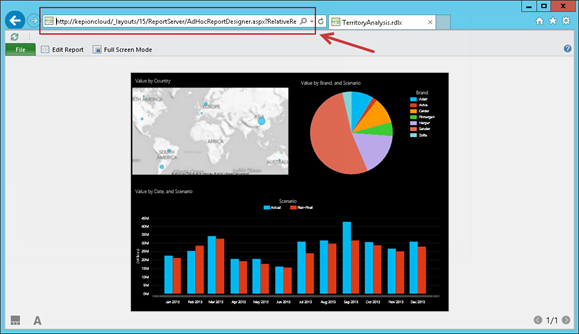
11. Edit the URL by:
a. Taking the part from "/_layout" to "ViewMode=Presentation". Now we have:
/_layouts/15/ReportServer/AdHocReportDesigner.aspx?RelativeReportUrl=/Documents/TerritoryAnalysis.rdlx&ViewMode=Presentation&Source=http%3A%2F%2Fkepioncloud%2FDocuments%2FForms%2FAllItems%2Easpx
b. Adding "&ReportSection=ReportSection2&Fit=True&PreviewBar=False" to the end. Now we have:
/_layouts/15/ReportServer/AdHocReportDesigner.aspx?RelativeReportUrl=/Documents/TerritoryAnalysis.rdlx&ViewMode=Presentation& ReportSection=ReportSection2&Fit=True&PreviewBar=False
12. Add a Page Viewer Web Part as described in Kepion + SharePoint … and paste the code above in the Link field.
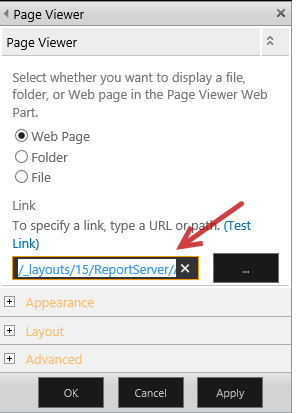
13. Change properties if needed.
14. Save the page and publish it.