
Introduction
In part 4 of the Modeler Tutorial, we'll use the Models we created to generate Forms. Forms display the data in a Model and can be configured as read-only reports or input forms to capture data.
Kepion Forms have four components: Rows, Columns, Filters, and Data. The Rows, Columns, and Filters are driven directly by the Dimensions, while the Data serves as the intersections between them.
Building Forms
Let's create our Assumptions Form. It will be used to track the quantity, price, and cost of our products.
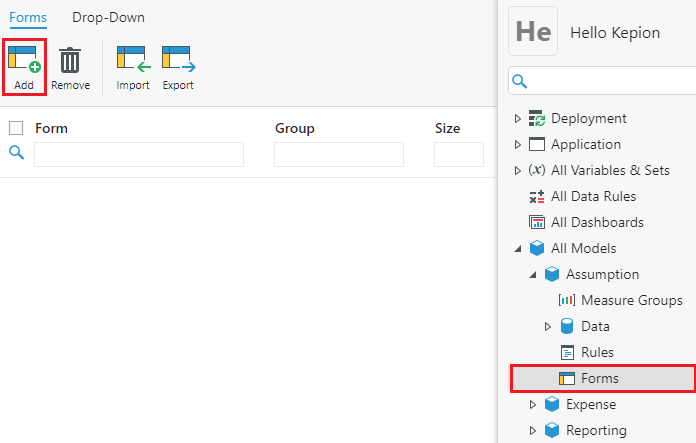
1. Go to the Forms node in the Assumption Model and click Add to create a new Form.
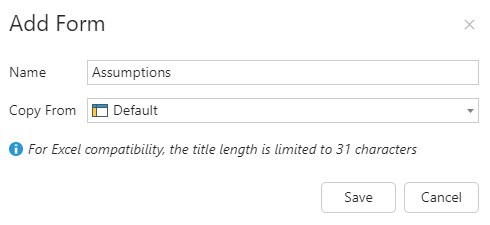
2. Name the Form Assumptions and click Save.
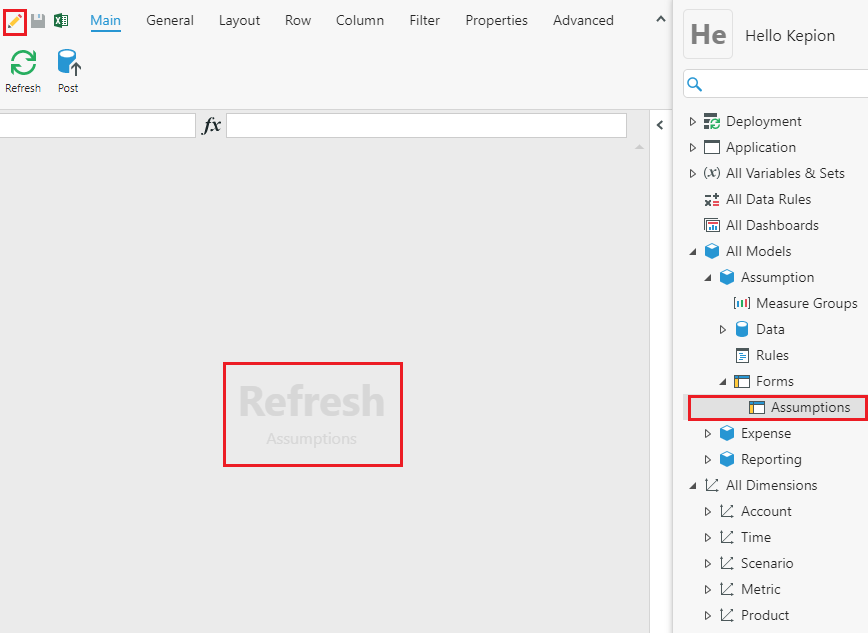
3. In your new Form, select the Edit  icon to start building the data table.
Tip: Select Refresh to see any changes you've made. It should be blank now as we haven't defined the form's structure.
4. Go to the Layout tab to configure your axes and filters.
Let's put Product on the rows, Months on the columns, and set Scenario, Metric, and FiscalYear as the Filters.

Note: We're using the Time Dimension twice.
Tip: When at least one (Input) Hierarchy from each Dimension is selected, you can input data on the Form.
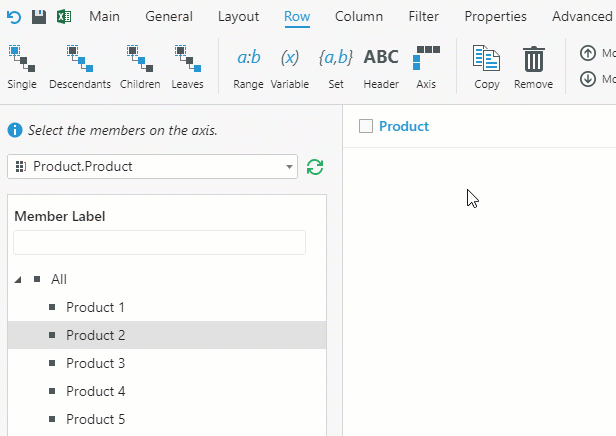
5. Go to the Row tab to choose which Dimension Members will appear on the rows. In this particular case, we'd like to display all our products, so we have a few options.
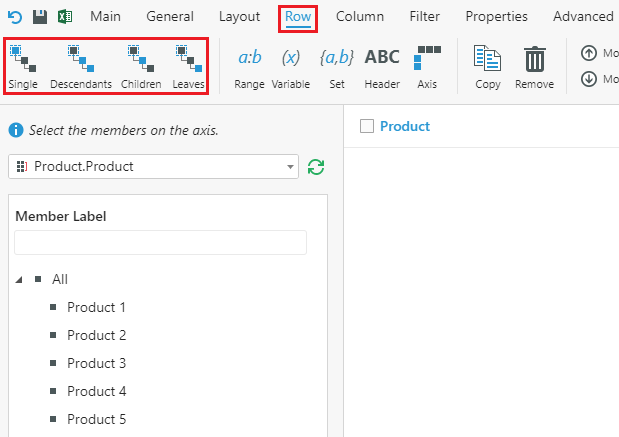
Single: Brings in just the selected Member.
Descendants: Brings in all Members of the Hierarchy below the selected Member.
Children: Brings in all the Members on the next level of the Hierarchy.
Leaves: Brings in all the Members on the lowest level of the Hierarchy.
In the example below, we selected the All Member and then the Leaves option. This should appear as L([All]).
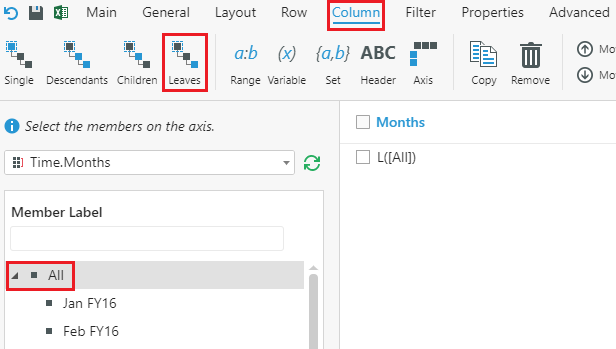
6. Go to the Column tab and select All then Leaves.
We have put Time's Dimension Members on the column.
7. Return to the Main tab and click Refresh  .
.
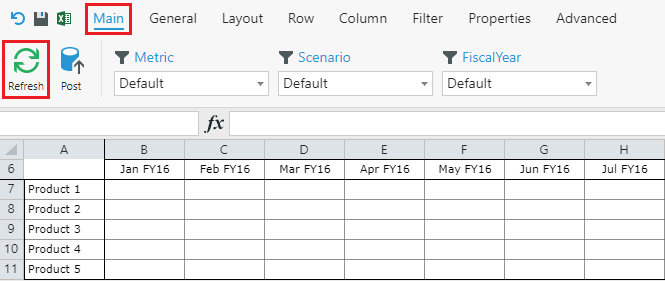
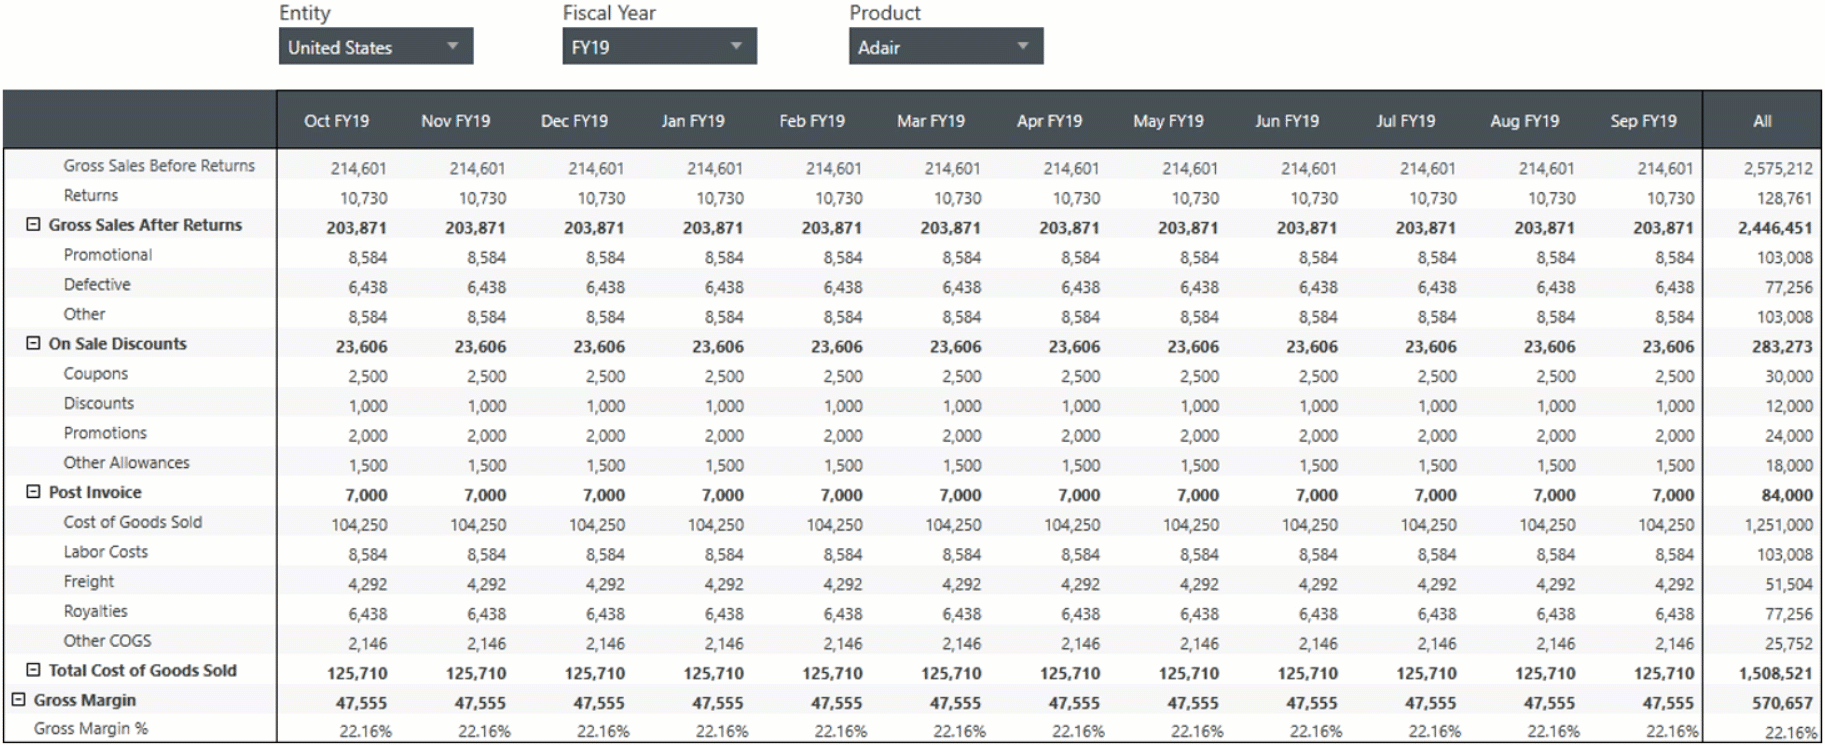
We should see all of our products on the rows and every month from the entire eight-year span on the columns. We have far too many Time Dimension Members for the Form to be user-friendly, so let's use Filters to scope down the display.
Configuring Filters
1. Go to the Filter tab to configure the default members.
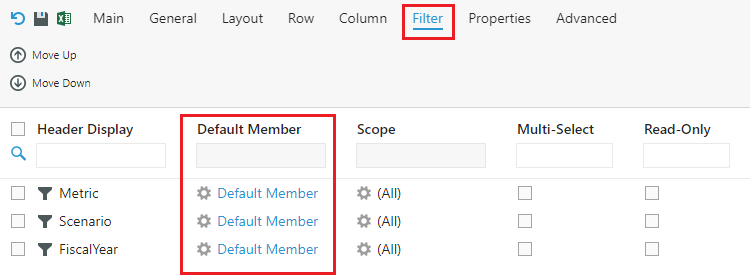
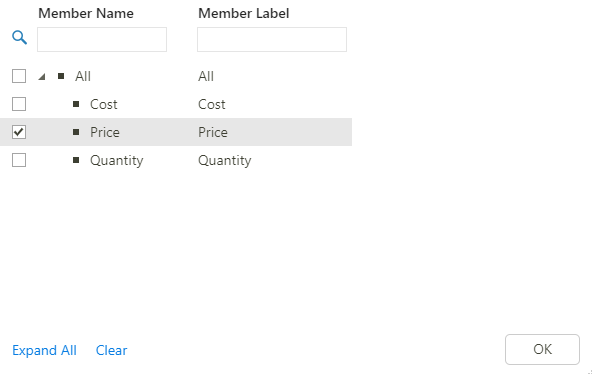
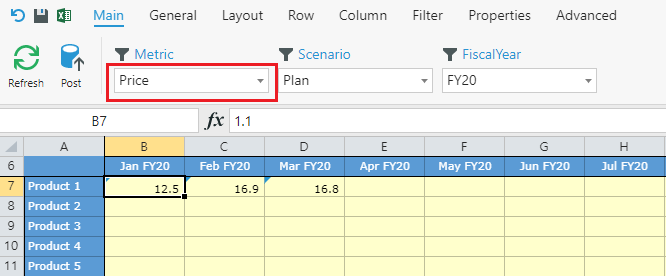
2. For the Metric Filter, select Price and click OK.
3. For the Scenario Filter, select Plan.
4. For FiscalYear, select FY20.

Tip: For more information on other Filter options, refer to this article.
5. Save the Form, return to the Main tab, and click Refresh.
We should now see that our Form displays only the months for FY 2020. Also note that the cells have changed color to yellow, indicating they are 'inputtable.'
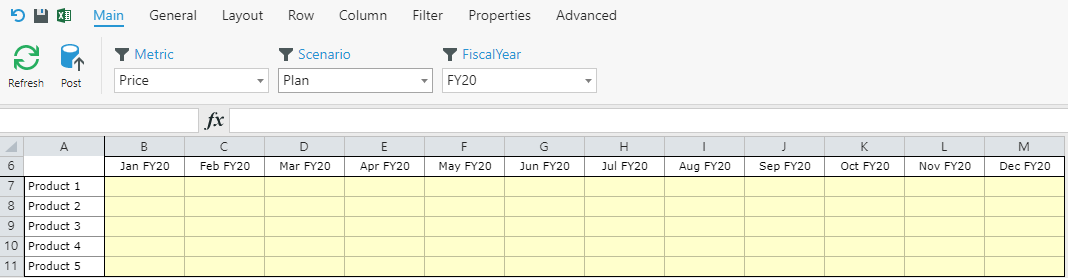
Note: Every Dimension Member used in the Form must be on the lowest level of the hierarchy in order to input data.
General Formatting
The General tab contains most of your styling and formatting tools. Feel free to customize the Form however you see fit.
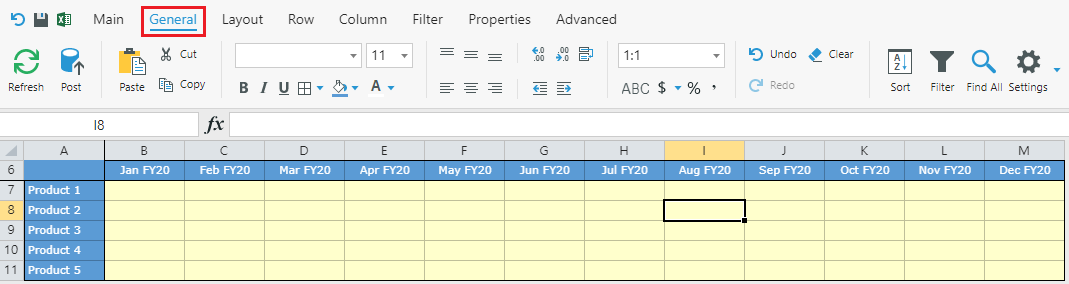
Tip: For best performance, try formatting by sheet, row, and column instead of customizing individual cells.
Cell Attributes
One last feature to be aware of in Forms are Cell Attributes. Cell Attributes allow you to apply formatting to cells that intersect particular Dimension Members. This makes it so the formatting dynamically follows these members as the Form changes.
To add Cell Attributes:
1. Select the cells to which you want to apply Cell Attributes.
2. Right-click and select Add Cell Attributes.
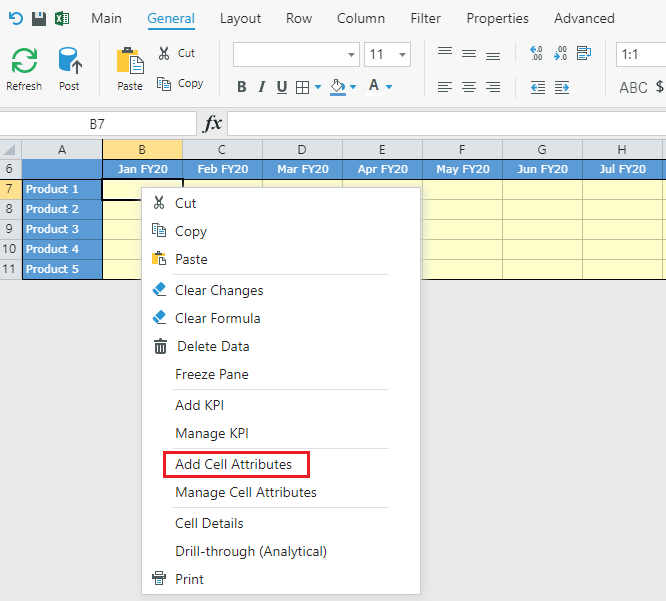
As this Form will be used to input product price, cost, and quantity, let's create a Cell Attribute that formats the price and cost members differently than quantity.
2. Name the Cell Attribute and select the Dimension Member (in blue) corresponding to Metric.
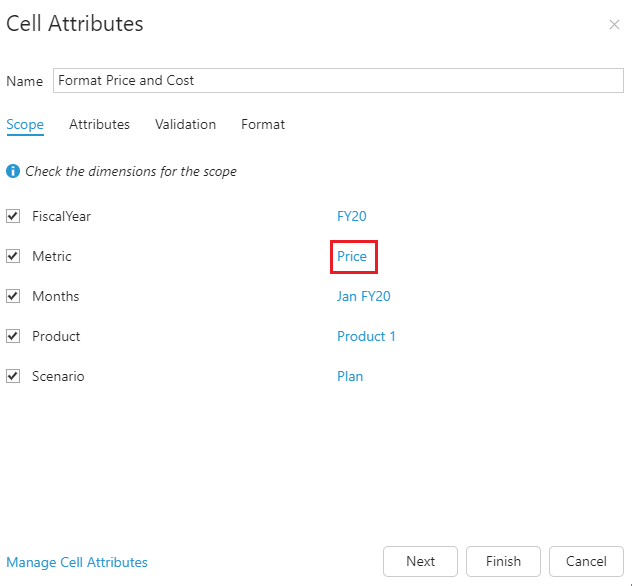
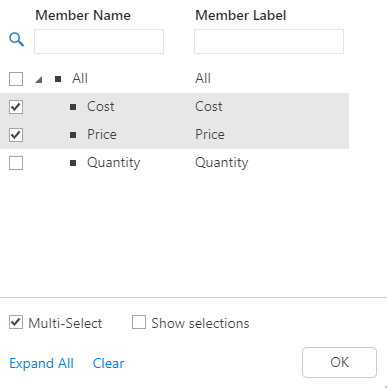
3. Select Cost and Price, and click OK.
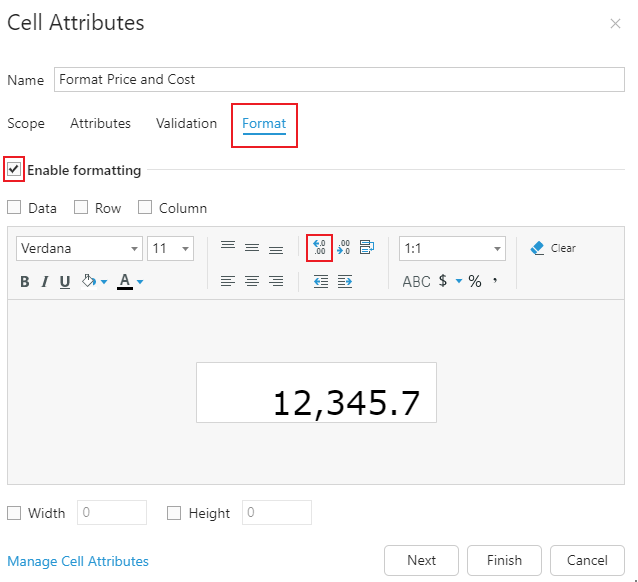
4. Go to the Format tab, check Enable formatting, and increase the number of decimal places.
The Format tab allows you to define the format when either of the scoped members are selected in the Filter.
5. Click Finish and Save the Form.
Now if we select Price or Cost in the Filter, the numbers are formatted with one decimal place.
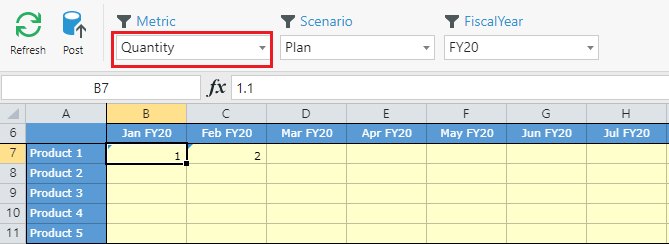
However, if we select Quantity, the numbers do not display decimal places.
Next Steps
In Part 5 - Forms II, we'll work on creating the other two Forms, in the Expense and Reporting Models.