
Introduction
In the first part of our tutorial, let's create a new Kepion Application and configure a few of the default Application settings. If you've not set up an environment to use Kepion, please read through the Setup Guide first.
Create Application
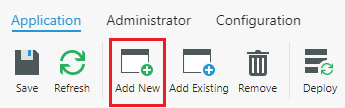
1. Go to the System module in the navigation bar.

2. In the Application tab, you can click the Add button to create a new Application.
Tip: In Kepion, an Application is the entire project on the highest level. It may contain one or more Apps, which a user will interact with directly.
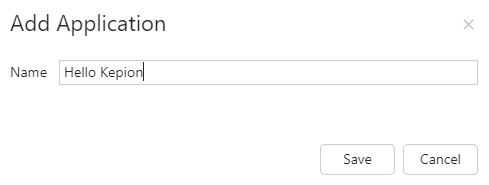
3. Give the Application a name and click Save.
Note: Creating an Application will generate a new associated SQL Database that will store all the Application's settings, data, and configurations.
Configure Settings
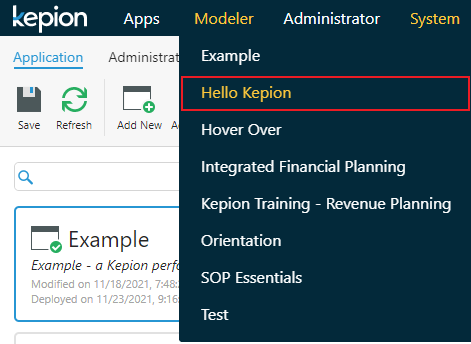
1. Navigate to the Application by selecting it from the Modeler drop-down.
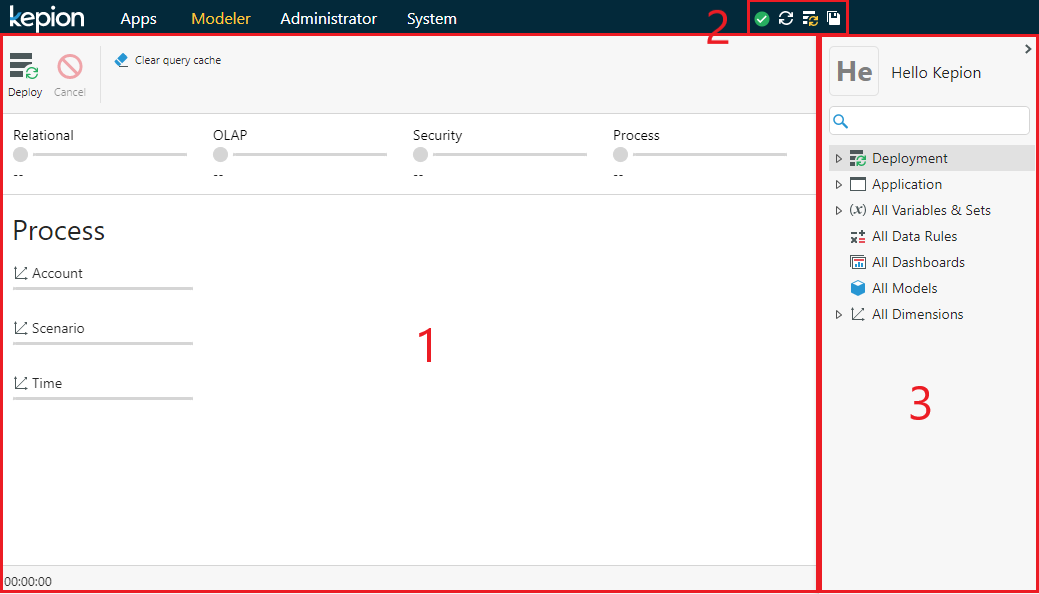
The major sections of the Modeler are outlined in the image below:
- Section display
- Options to refresh, deploy, and save your Application
- Navigation pane to select different Modeler parts
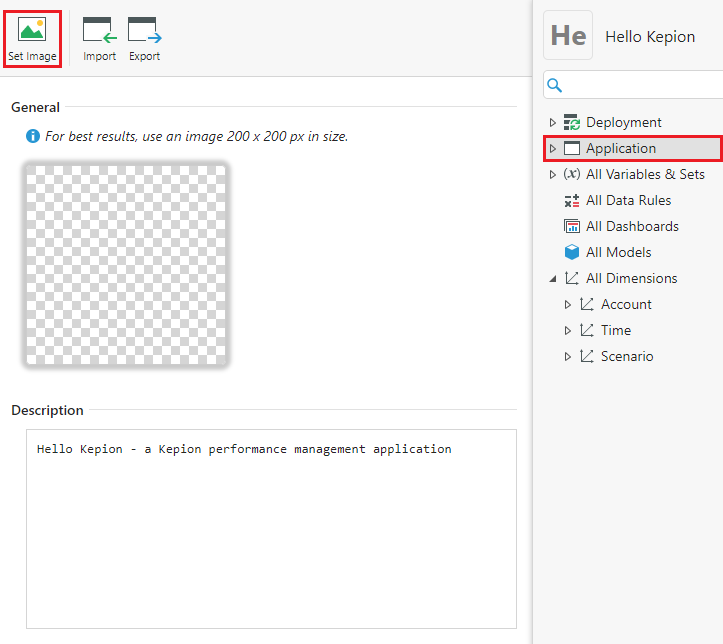
2. Click the Application node in the right-hand navigation pane.
To add an image for the Application, click Set Image ![]() .
.
To add a description, simply write in the box under Description.
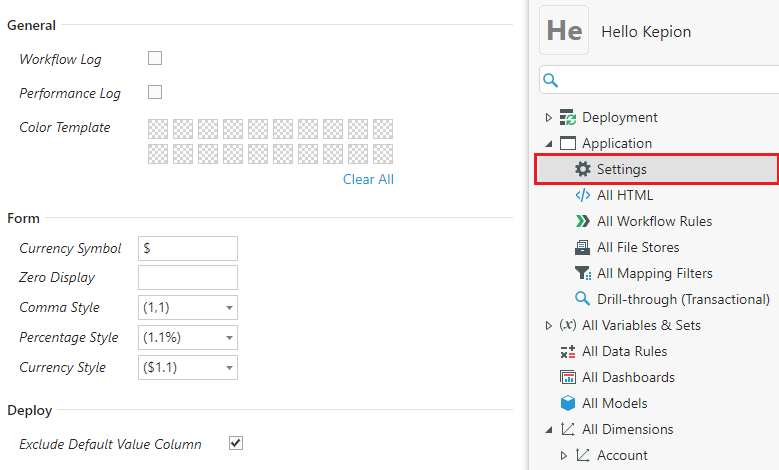
3. Go to Settings to define some defaults for the Application.
For example, we could add a color palette to facilitate Application styling or customize number formatting.
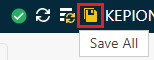
Tip: If prompted at any point, feel free to save your application. You can also manually save by clicking the Save icon in the top-right.
Next Steps
In the next article we'll look at Dimensions, one of the basic structural components in Kepion, and how to configure the needed Dimensions outlined in the previous article: