
Introduction
In part 5 of our Modeler Tutorial, let's move on to creating the Forms for the Expense and Reporting Models.
Operating Expense Form
The Operating Expense Form tracks costs related to running our business, such as employee salaries and facility expenses.
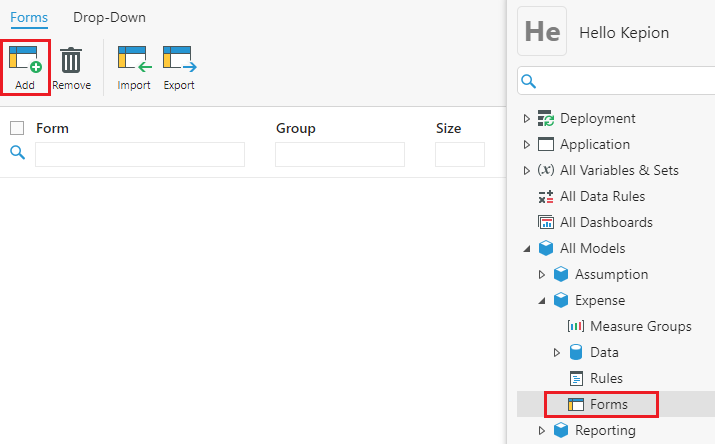
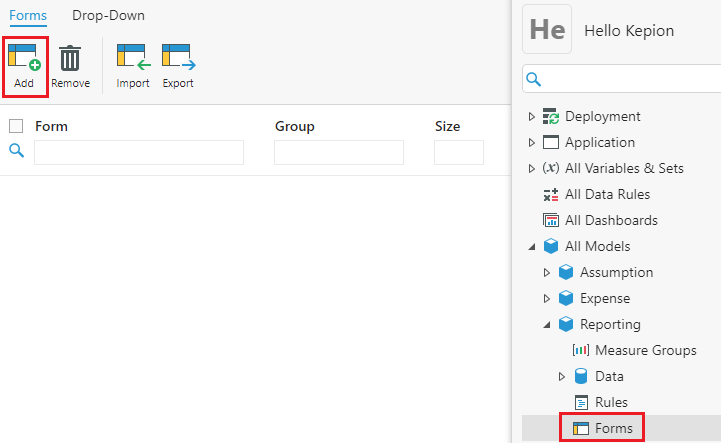
1. Navigate to the Expense Model and create a new Form.
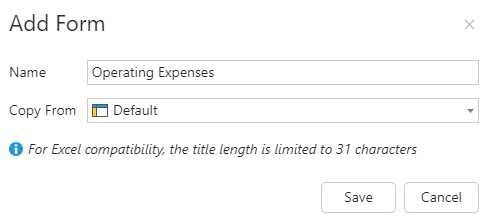
2. Name it Operating Expenses and click Save.
3. Go to Layout and configure the Form as follows:
- Account on the rows (plus select Reverse)
- Months on the columns
- Scenario and Fiscal Year for the Filters
4. Go to Row and select Total Operating Expenses.
5. Select Children and then Single (i.e., the aggregated total of all the list's children).

Tip: The order we select the Members here is the same order they'll appear on the Form. Moving [Total Operating Expenses] above C([Total Operating Expenses]) would put the total at the top of the Form instead of the bottom.
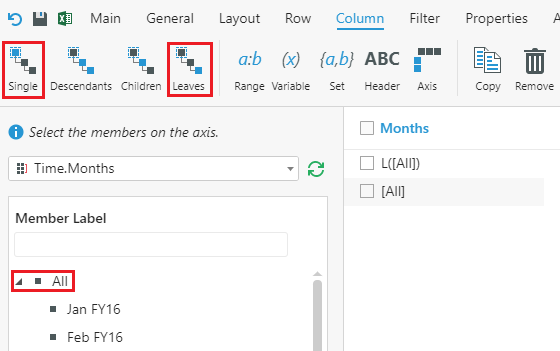
6. Go to Column and select the All member.
7. Click Leaves and then Single to display the total value of all the columns.
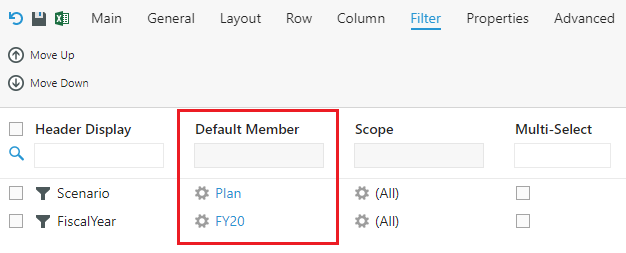
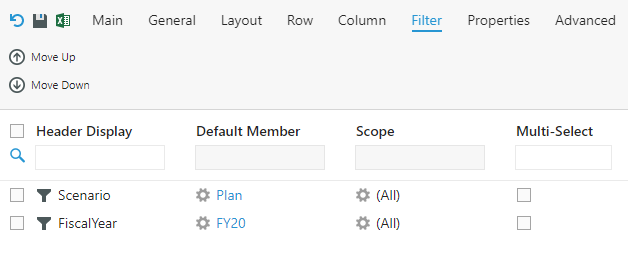
8. Go to the Filter tab and configure the Default Members as follows:
- Scenario as Plan
- FiscalYear as FY20
Display Properties
In this Form, we're also going to configure one additional setting.
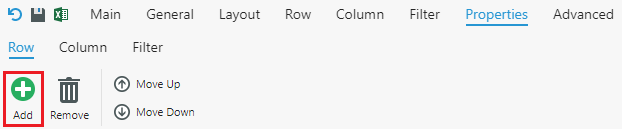
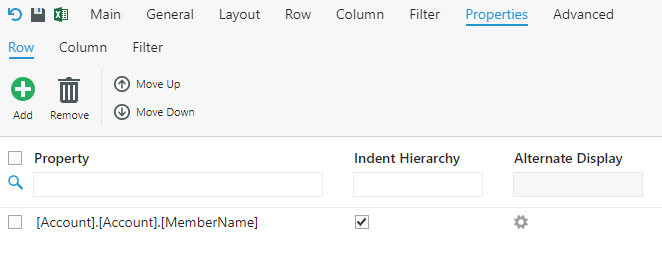
1. Navigate to the Properties section and make sure the Row tab is selected.
2. Click Add to add a new display property to the rows.
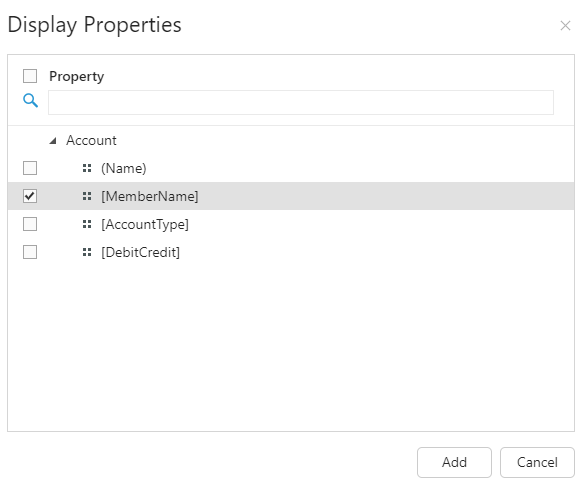
3. Select [Member Name] and click Add.
4. Click the Indent Hierarchy box. This option overrides the display property from a flat list to a hierarchical structure. The structure comes from the member hierarchy in the Account Dimension.

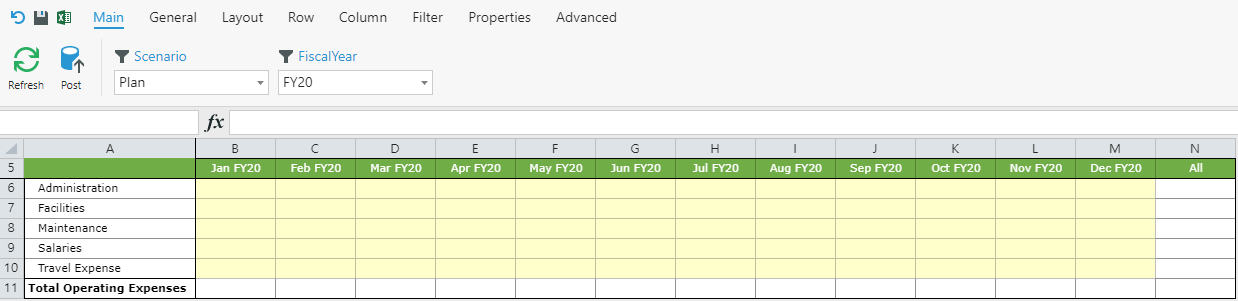
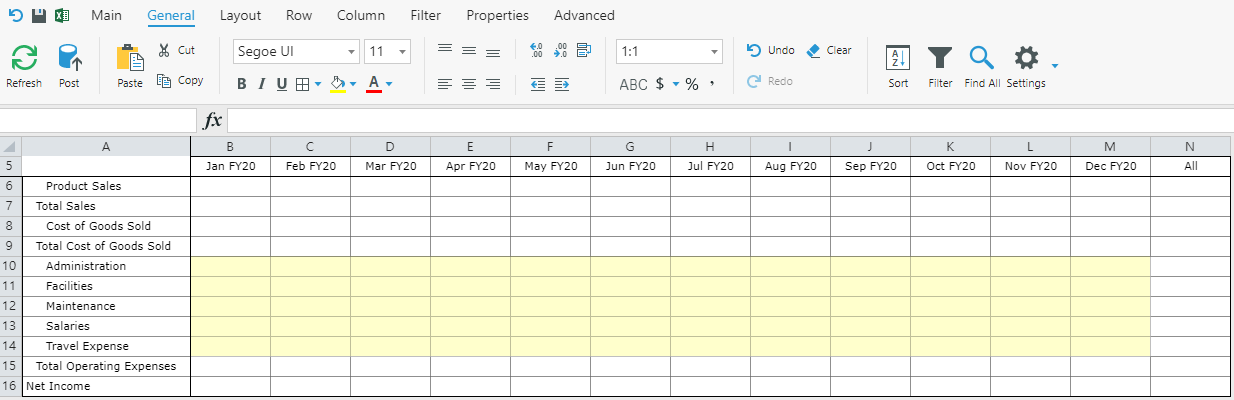
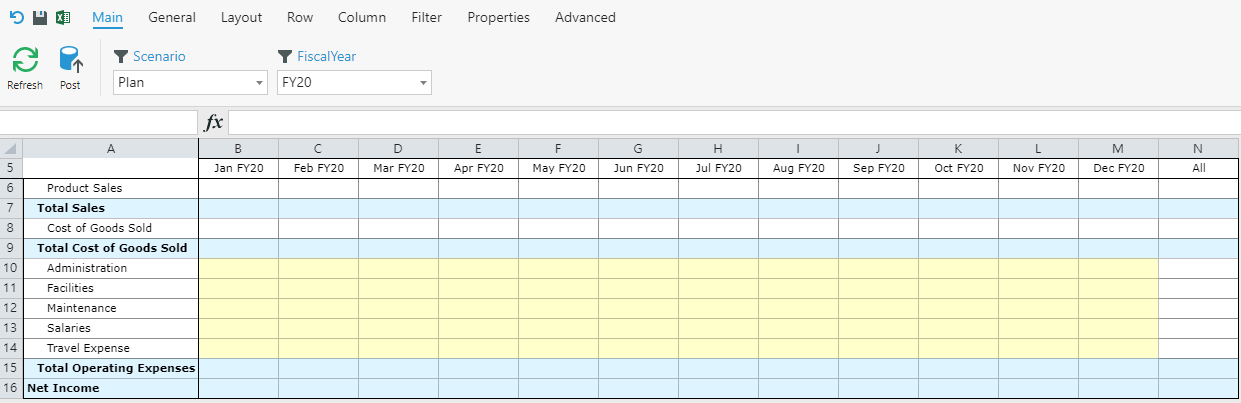
The final result should look similar to the example below. Notice that the Members above Total Operating Expenses are indented now. It's a small change in this Form, but we'll use the Indent Hierarchy option again in the Net Income Report to organize the full Account Dimension. Feel free to style the Form appropriately.
Net Income Report
Let's create our final Form, the Net Income Report. It will display all the calculated results in our Application.
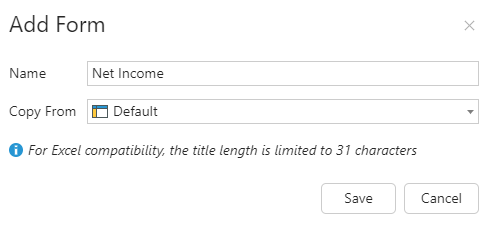
1. Go to the Reporting Model and select Add.
2. Enter Net Income and click Save.
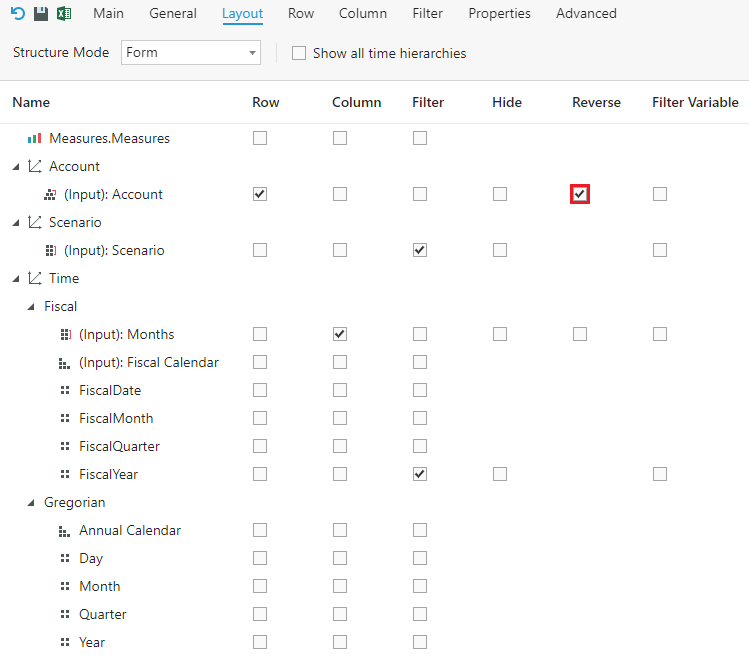
3. Configure the Layout in the same manner as the Operating Expense Form, but also check the Reverse option in the Account Layout. This option moves the Parent Members to the bottom of their Children. We're doing this so our totals end up on the bottom of the Form, rather than the top.
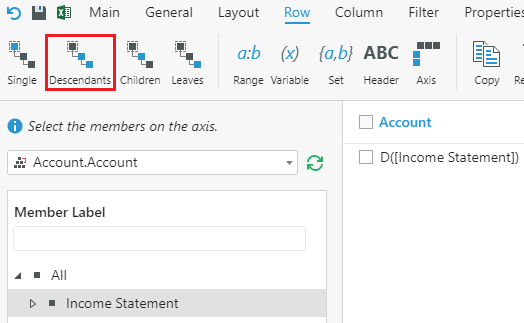
4. Go to Row, select Income Statement and then click Descendants in the Ribbon. This will include all Members of the Account Dimension.
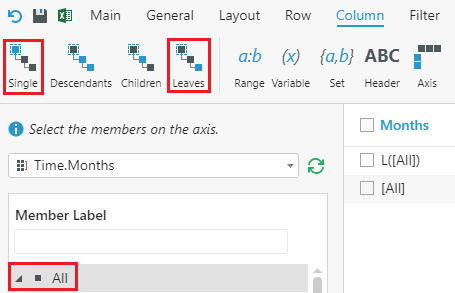
5. Go to Column, select the All Member, and click Leaves then Single.
6. Configure the same default Filters and Display Properties used in the Operating Expenses Form.
Your Form should now look similar to the one below:
7. Click the Advanced Settings option.
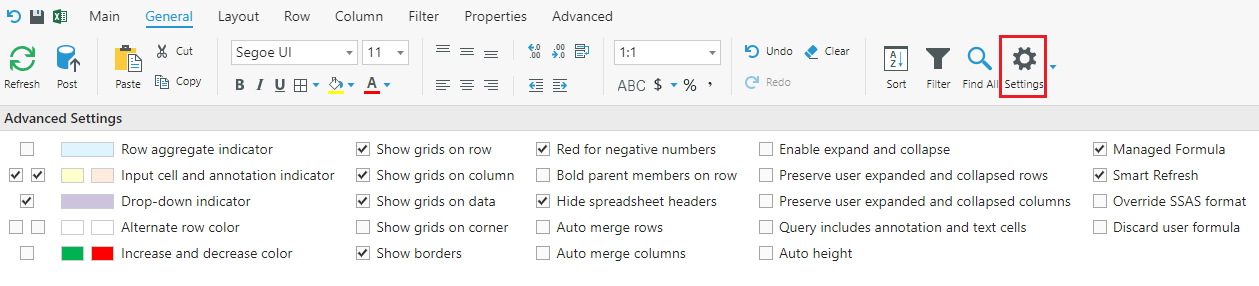
Here you can change the default cell color, show or hide gridlines, and a number of other important configuration options. Feel free to style your report however you'd like.
Your final report should look similar to this:
Tip: To add empty static rows to a Form, right-click the row numbers and select Insert Before or Insert After. To add empty dynamic rows, add headers into the row definition of the Form.
Next Steps
Now that we have all our Forms ready, we'll gather them in a Dashboard in Part 6 - Dashboards.