
It's often the case that certain combinations of Filter selections are invalid. For example, a company may sell a particular product in the U.S., but not in Australia. You would want to define a relationship between countries and brands, so that users won't see Australia as a Filter selection for that product. These types of valid relationships can be defined with Linked Models.
However, as old Filter selections aren't automatically cleared out, it's still possible for users to reach an invalid combination. In this article, we'll examine the Clear Links functionality, which prevents invalid combinations from appearing.
Example
To demonstrate a situation where this feature is useful, let's return to the example situation outlined above. This particular company has a number of entities, brands, and products. Certain products are only valid within a particular set of brands, and certain brands are only valid within a particular set of entities, outlined in the image below:
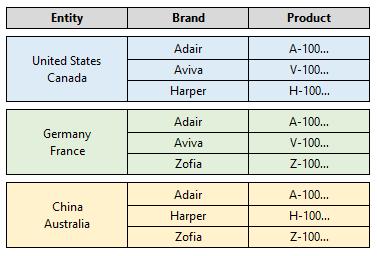
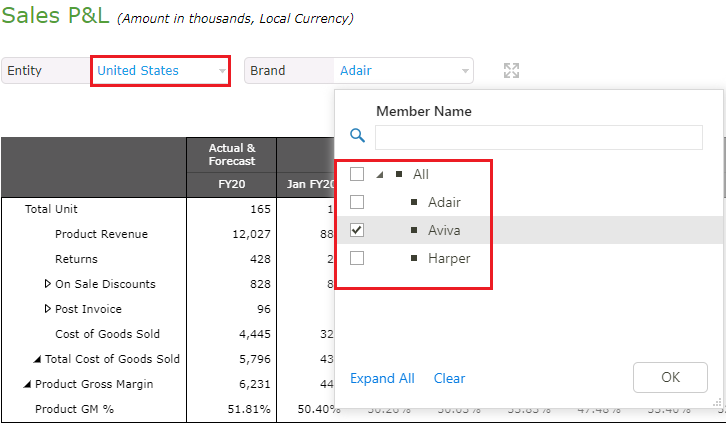
In this Application, Linked Models have already been used to define these relationships, so that when Canada is selected for Entity, Zofia is not a selectable option as that brand is not available in Canada.
However, if we change the Filter selection from Canada to Australia, Aviva remains the selected Brand—even though it's not a valid brand in Australia.
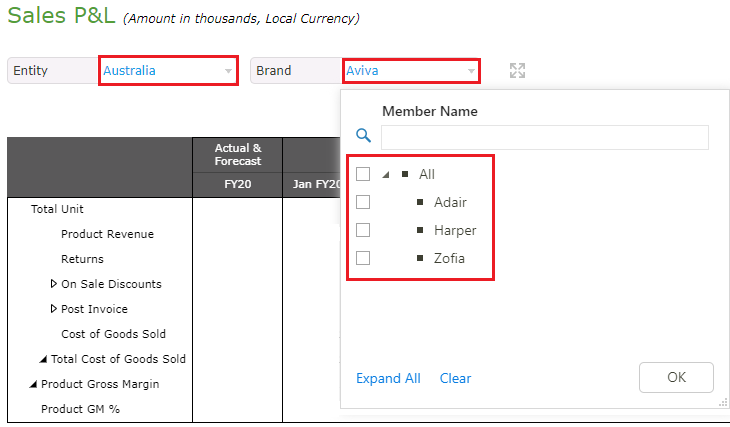
Let's configure our Filters to prevent this combination.
Configure Default Member
Let's first make some changes to the default Filter settings.
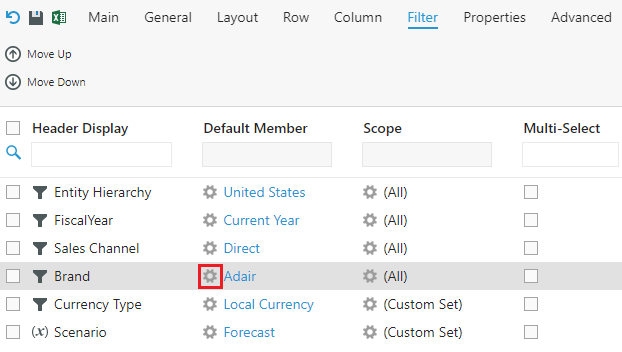
1. Navigate to the relevant Form, click  to edit, and go to the Filter tab.
2. In the Brand row, select  in the Default Member column.
3. Select Custom Member from the Configure drop-down.
4. Enter the text to be displayed when the Filter has no selection, such as "Please Select...".
5. Select the Use when empty and Skip refresh options. The former tells the filter to use the Custom Member text when the filter selection is empty; the latter to not refresh the Form until a valid member is selected.
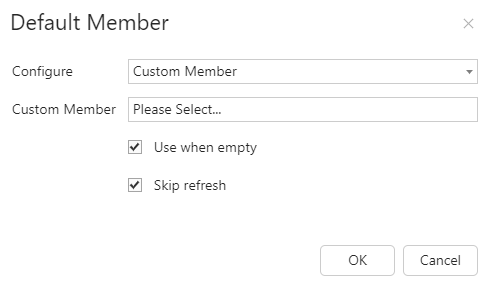
6. Click OK.
7. Select  to save the Form.
Configure Clear Link
1. Go to the Dashboard Editor and select Filter Link.

Tip: For more information on the Filter Link option, refer to this article.
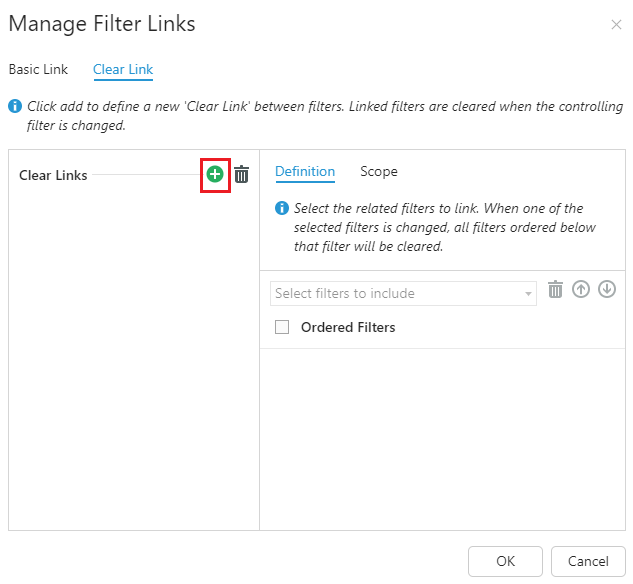
2. In the Clear Link tab, select  to create a new definition that will define the relationship between Filter hierarchies, and then give it a name.
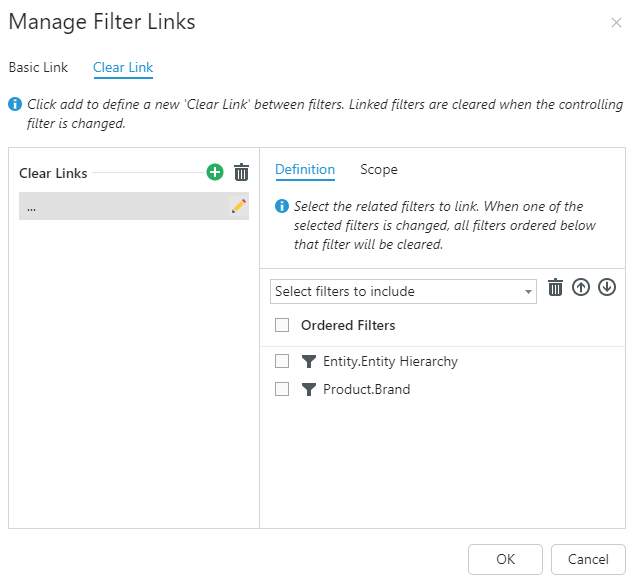
3. Select to give the definition a name.
4. Configure the definition by selecting Filters from the Select filters to include drop-down. You should choose the filters in the order that would result in a valid selection (e.g., Entity > Brand). Use the up and down arrows to reorder, if necessary.
5. Go to Scope and select all the Dashboard Forms where this relationship should apply.
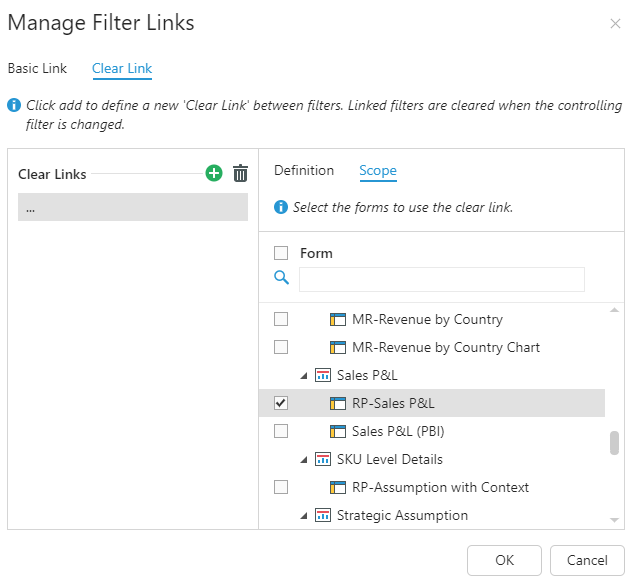
6. Click OK to finish.
Go to Preview to verify the changes have been made. When we change the filter selection for one of the hierarchy Filters, all Filters that are ordered lower in the hierarchy filter relationship will have their selections erased. With this configuration, invalid filter combinations are impossible.
