Introduction
In this article, let's walk through the steps to configure a relationship using Data Rules. For more information on relationships and Linked Models, visit the following articles:
- Use Linked Models
- Use Relationships
- Configure Relationships using Input Forms
- Configure Many-To-Many Relationships
Example
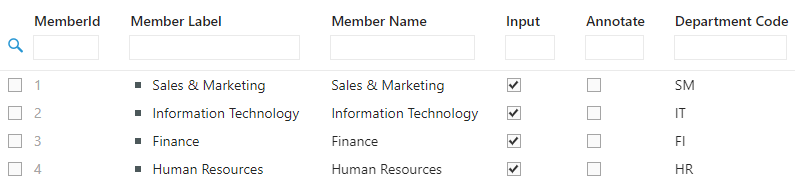
We have an Application with two Dimensions: Department and Employee. Each employee works for a single department, designated by the Department Code Attribute.
You can see the Department Code Attribute in the Department Member List:
And in the Employee Member List:

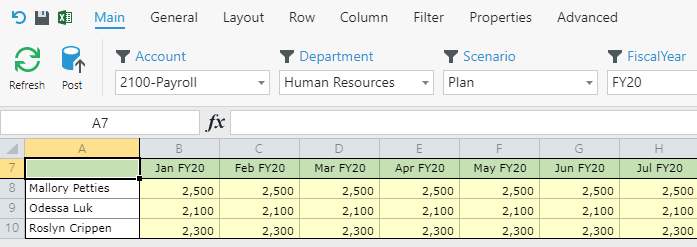
Here's the problem: We can enter payroll information for any employee—even if they don't belong to the department selected in the Filter. To fix this, let's define a relationship between the Department and Employee Dimensions, so that we see only the employees within the selected department.
Create a Validation Model
1. Create a Validation Model to define the valid combinations of Dimension Members. We've called ours Valid Dep-Emp.
2. Add the Department and Employee Dimensions.
3. Deploy the Application.
Create and Configure Data Rule
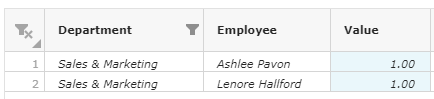
Next, we're going to use the Validation Model as a matrix to define the relationships. Each record in the Model will represent a valid combination. For example, to define all the employees that belong to the Sales & Marketing Department, we would insert the following records:
Rather than managing these records manually, let's create a simple Data Rule that generates the valid combinations automatically. This way we don't need to worry as employees and departments are added or removed.
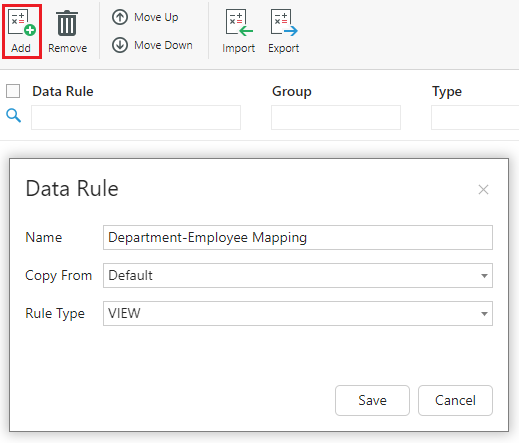
1. Select All Data Rules and click Add.
2. Configure the Data Rule as follows:
- Name as Department-Employee Mapping.
- Copy From as Default
- Rule Type as VIEW.
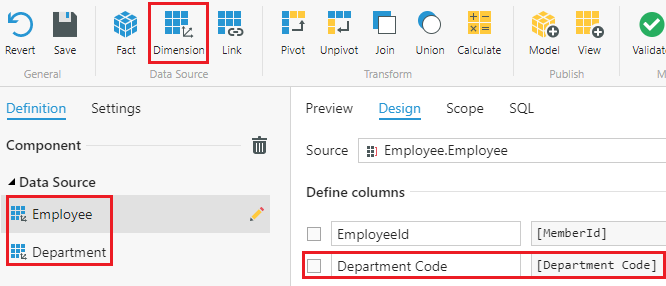
3. Select Dimension from the ribbon twice.
4. Set the Source as Employee.Employee for one, and Department.Department for the other.
5. Double-click Department Code from the selection on the right for both Dimensions. This will give us a common value to map the two together.
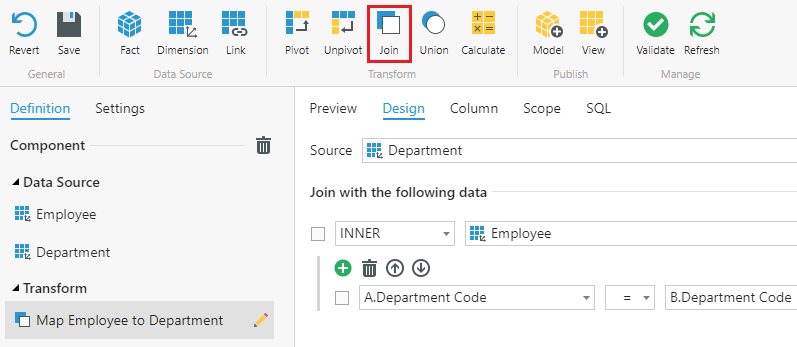
6. To merge the two separate tables into one, select Join.
7. Configure as depicted in the image below:
8. Go to Column and select  to add a new calculated column.
9. Rename it Value.
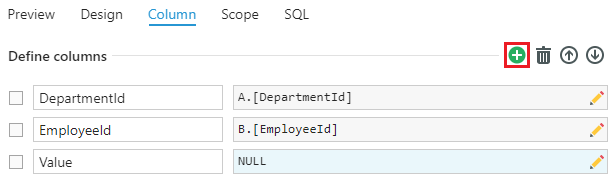
10. Select  to configure the Value column.
11. Change the Type to Custom Expression and enter 1 for the value.
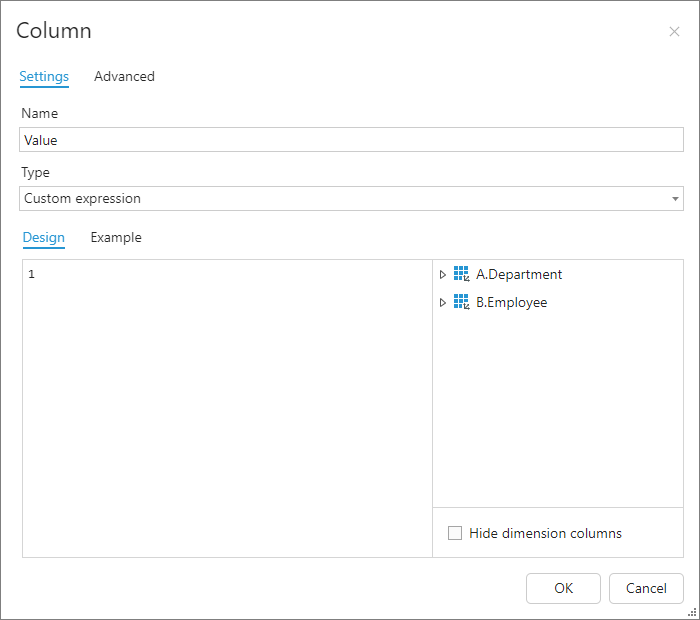
12. Select OK.
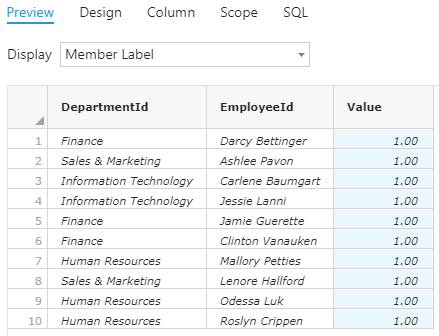
In the Preview tab, we can confirm that the table structure is correct.
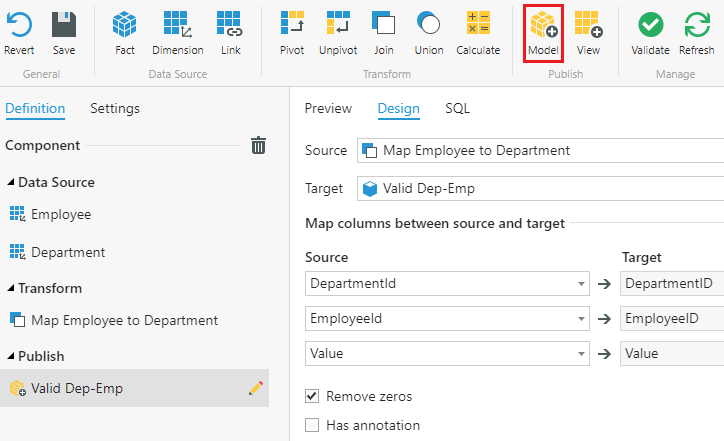
13. Select Model in the ribbon to publish this mapping table.
14. Configure as shown below:
Link Model and Define Relationship
We want this relationship to affect our Payroll Planning Form.
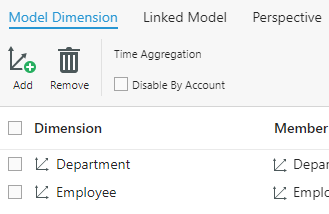
1. Select the Model which contains that Form and go to Linked Model.
2. Click Add and select the Valid Dep-Emp Model.

3. Deploy the Application.
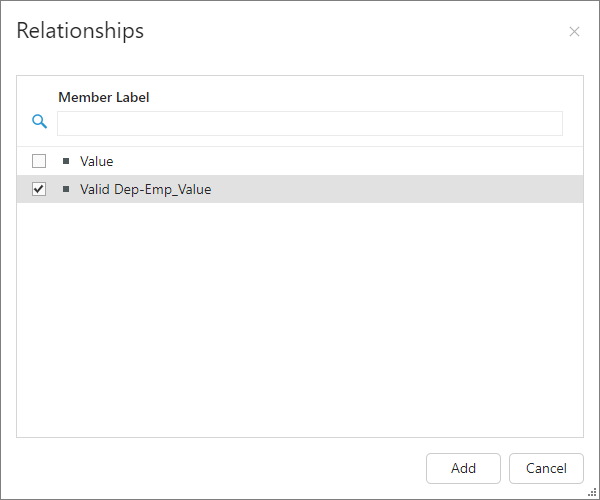
4. In the Payroll Planning Form, go to Advanced > Relationship and click Add.

5. Select the Valid Dep-Emp_Value and click Add.
6. Select where the relationship should be applied on the Form. In this case, we want to limit which Employees are visible on the Rows, so select the Row checkbox.
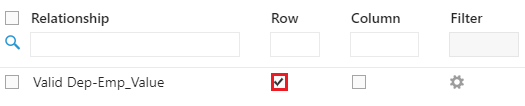
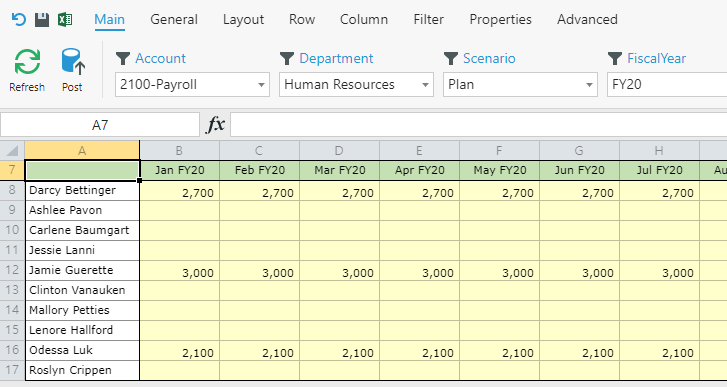
Now in the Payroll Planning Form, only employees from the selected department will be shown on the rows.