
Introduction
A Dimension is the logical organization of related Members and their Attributes. For instance, you could have a Geography Dimension, with the Members Seattle, Olympia, and Tacoma with Attributes such as State, Country, and Region Code defined for each Member.
Similarly, you can have a Product Dimension with Members representing individual product SKUs with other Dimension Attributes tracking such items as Brands and Product Grouping. When a Dimension is defined within an Application, it can be reused in different contexts over multiple Models.
Before you Start
1. Go to the Modeler and select an Application.

2. When in the Application, click All Dimensions.

All Dimensions
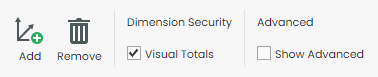
The All Dimensions page functions as a hub for your Dimensions, providing the following options:
| Actions/Options | Function |
|---|---|
| Add | Add Dimensions to your Application. |
| Remove | Remove Dimensions from your Application. |
| Visual Totals | Configure whether the aggregated value in Forms will be filtered by a user's permissions (checked) or not (not checked). |
| Show Advanced | Display the advanced menu options. |
Standard Menu Options

| Fields | Function |
|---|---|
| Dimension | Name of the Dimension. |
| Group | Group to which the Dimension belongs. |
| Members | Number of Members in the Dimension. |
| Security | Check the box corresponding to the Dimension to apply Visual Totals for selected Dimensions. |
| Size | Small (<100 members), Medium (<25,000), or Large (>25,000). |
Advanced Menu Options
Note: Select Show Advanced in the ribbon for these options to appear.

| Fields | Description |
|---|---|
| Hierarchy API* | Enabling this field for select Dimensions allow you to use SQL table-valued functions. Each time the Application is deployed, the hierarchy information will be updated. |
| All Hierarchy | Enabling this field for a Dimension deploys its flat list as part of the SSAS deployment. As a best practice, this setting should remain false (i.e., box unchecked) for all Dimensions. |
| Unique | Enforce uniqueness for a Dimension's Member Labels. As a best practice, this setting should be set to true for all Dimensions. Member Labels should be unique to be referenced in Form and Rule development. |
| Read-Only | Sometimes the Dimensions and hierarchies are maintained through ETL and, at other times, a manual process. By making the Dimension read-only, users cannot edit it. |
| SSAS Type | If integration with other client tools requires specific attribute types, this option allows you to specify the data type held in a Dimension. For more info on attribute types, refer to Microsoft's AttributeType Enum page. |
* You will see this option only if you are running a version of Kepion released before 6.1.22209; otherwise, this feature is automatically enabled and known as Member Functions.
Apply Changes
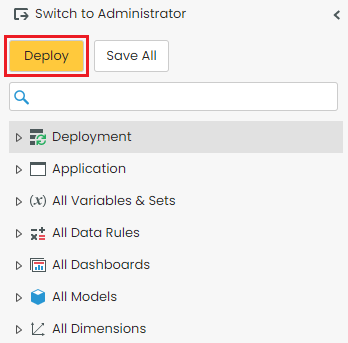
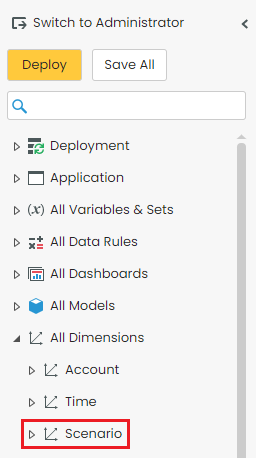
1. Click the Deploy icon at the right of the navigation bar.
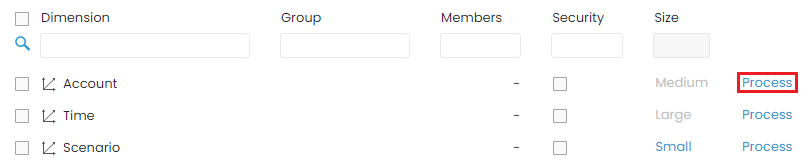
2. Select Process for the target Dimension(s).
Add and Delete Dimensions
Add Dimensions
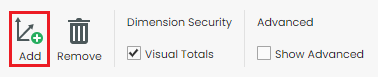
1. In the All Dimensions screen, select Add.
2. Configure the Dimension as needed:
Dimension Name: Desired name for Dimension.
Copy From: Use Members from another Dimension.
Dimension Size: Projected number of Members in the Dimension.
Enable for member security: Allows users to apply security to Dimension. Leave un-checked for better performance.
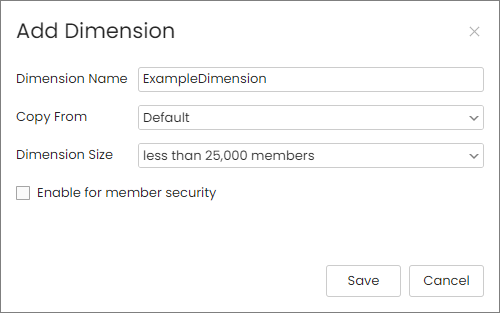
3. Click Save when all the information is correct.
Tip: For more information on Dimension configurations, read Part 2 of the Modeler Guide.
Delete Dimensions
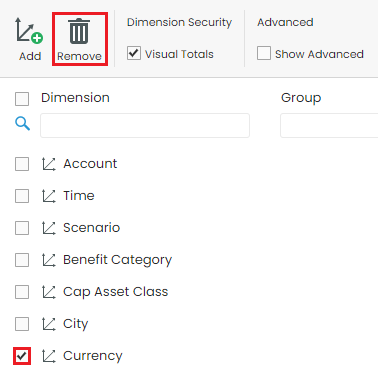
1. On the All Dimensions page, select the check box(es) for the Dimension(s) you would like to remove.
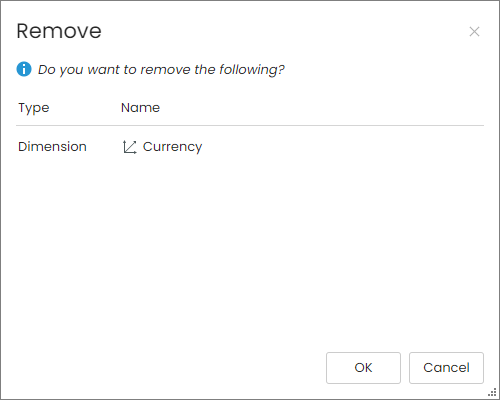
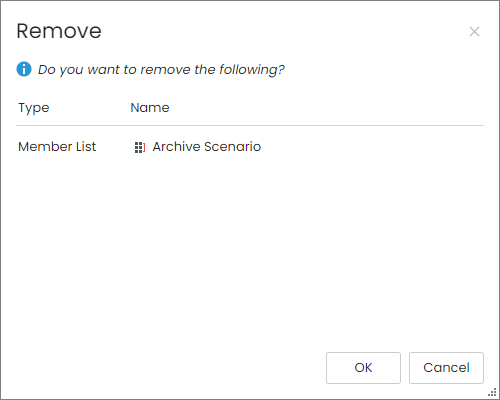
2. Click Remove.
3. Click OK.
Dimensions
Each Dimension has its Members, which are organized into Member Lists (a.k.a. Hierarchies). To configure individual Dimensions, go to its node under All Dimensions.
We can look at the Scenario Dimension, for example.
Actions
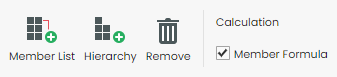
| Action | Function |
|---|---|
| Member List | Add a Member List, which can be set to List or Hierarchy Mode |
| Hierarchy | Create a Hierarchy on an existing Member List |
| Remove | Remove a Member List or Hierarchy |
| Member Formula | Enable Administrators to write MDX directly into a Dimension Member's definition. Refer to Dimension Member Formulas for more information. |
The Account Dimension has an additional action called By Account, which is logic for account aggregations related to the Time Dimension. For instance, balance accounts aggregate differently over Time than regular accounts as they typically aggregate based on the value of the last child. This option is not supported by SQL Standard Edition.
Columns

| Column | Function |
|---|---|
| Hierarchy | Name of Member List |
| Type | Displays as Mode or Hierarchy |
| Member | Number of Members in the Member List |
| Category | User-defined category name |
| Definition | Displays as Member List or the Hierarchy definition. |
Tip: Select  to change a Member List's Mode.
Add and Delete Member Lists
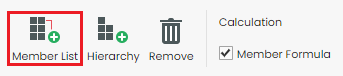
Add Member Lists
1. Click Member List.
3. Enter a name for the Member List and select a Mode.
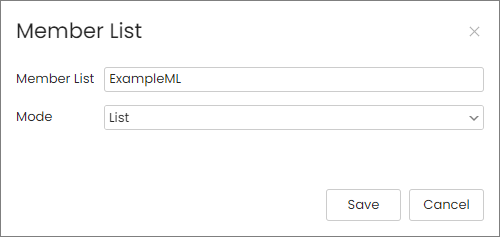
4. Select Save.
Delete Member Lists
1. Select the checkbox(es) for the Dimension(s) you would like to remove.
2. Click Remove.
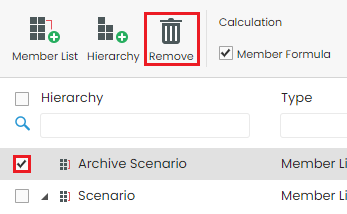
3. Click OK to confirm removal.
Configure Hierarchy
Creating a Hierarchy on a Member List allows users to make a leveled list based on Attributes.
Let's use the following Member List for our example:
1. Go to the target Dimension and select Hierarchy.
2. Complete the following fields:
Name: Input a name for the Hierarchy
Create On: Select the Member List from which you want to create a Hierarchy.
3. Select the Attributes to include in your Hierarchy.
4. Select Next.
5. Use the arrow buttons to reorder the levels of the Hierarchy.
6. Select Save.
You will be taken to your new Hierarchy.
Member Lists
Expand a Dimension to find its Member Lists (excludes Attributes node).
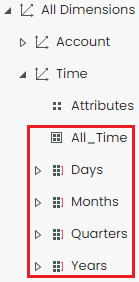
Note: The All_[Member List] contains a record of all the Members within a Dimension, however, this Member List cannot be used to define your Model. All other Member Lists contain a subset of the Members within a Dimension and can be used to define a Model.
Actions
| Actions | Function |
|---|---|
| Expand All/Collapse All | Expand all Member nodes of the hierarchy to show the full structure. Collapse All will collapse all the hierarchy Members. |
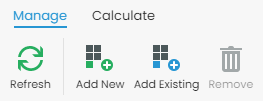
| Refresh | Refresh the Member List definition with the most up-to-date version on the server. |
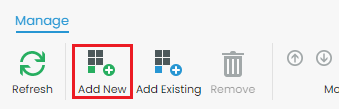
| Add New | Create a new sibling Member below the selected Member. |
| Add Existing | Add Members that already exist on the Dimension. |
| Remove | Remove the Member from the Member List. All descendants of the Member will be removed from the Member List as well. |

| Actions | Function |
|---|---|
| Move up | Move the selected Member up in the hierarchy. All child Members will automatically be moved up along with the Member. |
| Move down | Move the selected Member down in the hierarchy. All child Members will automatically be moved down along with the Member. |
| Move left | Move the selected Member to the left, promoting it one level. |
| Move right | Move the selected Member to the right, demoting it one level. |
Tip: For more information on how to build Parent-Child hierarchies, read the Configure Member List Mode article.
| Actions | Function |
|---|---|
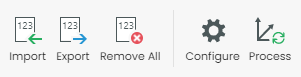
| Import | Import a CSV file containing all the attributes and relationships that define the hierarchy. For more information, refer to the Modeler Tutorial Part 2. |
| Export | Export the Kepion hierarchy definition to a CSV file. You can also choose to export an empty hierarchy to generate the starting CSV file for use in imports. |
| Remove All | Removes all Members in the list. |
| Configure | Change the mode for the Member List, either from List to Hierarchy or vice versa. This option is not included in the All_[Dimension Name] section. For more information, please refer to the Configure Member List Mode article. |
| Process | Applies changes to the Member. |

| Options | Function |
|---|---|
| Show MemberId | Show MemberId (read-only) in the Member List |
| Memberwith Data | Display data Members for non-leaf Members in the parent attribute. |
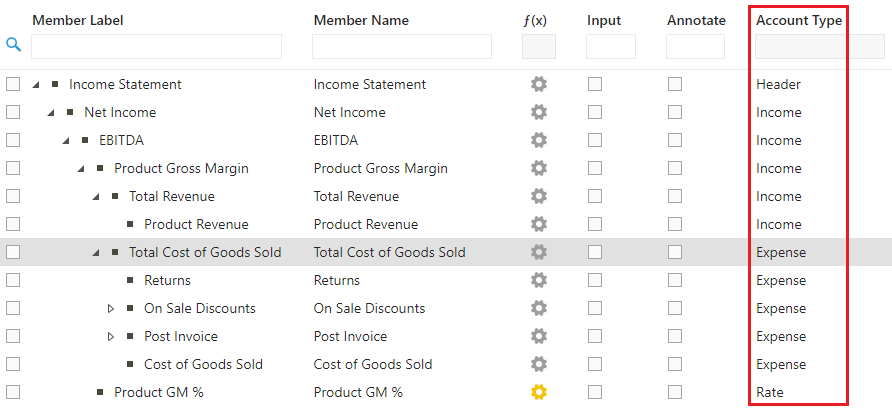
Pre-defined Attributes

| Actions | Function |
|---|---|
| Member Label | The unique ID that identifies a member within the Dimension. By keeping the Member Labels unique, you can easily reference them during Rules and Form design. The maximum number of characters allowed is 200. |
| Member Name | The user-friendly name that can be non-unique within a Dimension. Use this attribute to give a descriptive name for the member. The maximum characters allowed is 200. |
| f(x) | Enables users to leverage MDX to define a Member. This can be configured only when the Member Formula is enabled. |
| Input | Determines whether to allow data input for the member. For instance the member Actual may never be required for input and should therefore be set to FALSE. |
| Annotate | Controls whether the member will display data (not checked) or comments (checked) on the Forms. Make sure the Query includes annotation and text cells option is also checked in the relevant Form. |
The Account Dimension comes with another pre-defined Attribute called AccountType. The AccountType Attribute defines the GL account type for Members of the Account Dimension. Setting this Attribute will also define the natural account aggregation behavior of the Member within an Account Hierarchy. Possible values for this field include but are not limited to: Income, Expense, Liability, Ratio, Equity, Unit, and Header.
Add and Delete Members
Add Members
1. Select Add New.
2. Under the Member Label column, double-click the text corresponding to the new member.

3. Press the Enter key or click out to save the Member Label name.
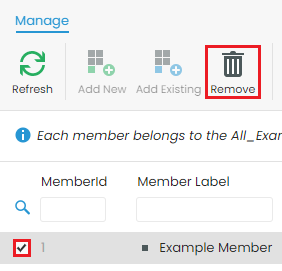
Delete Members
1. Select the target Member.
2. Click Remove.
User-Defined Attributes
You also have the ability to add additional Attributes to your Dimension. Select the Attributes node of your target Dimension to configure Attributes.

Attributes
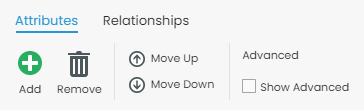
Actions
| Action | Function |
|---|---|
| Add | Add an Attribute |
| Remove | Remove an Attribute |
| Move Up/Move Down | Move an Attribute up/down in the list. Up moves the column left in the Member List, and down moves the column right. |
| Show Advanced | Show advanced columns (Name Column and Validation) |
Columns
| Column | Function |
|---|---|
| Attribute | Name of Attribute |
| Type | Type of Attribute |
| Default | Default value of Attribute |
| Hierarchy | Allows user to leverage Attributes in a hierarchy. Enabling this option will slow down performance. |
| Drill-through | Allows user to leverage Attributes in analytical drill-through. Enabling this option will slow down performance. |
| Hide from Filter | Hides Attribute from Filter selection |
| Name Column (Advanced) | Change the display names of an Attribute's values often for easier readability |
| Validation (Advanced) | Validate Attribute based on a Member List |
Relationships
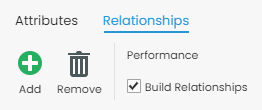
| Action | Function |
|---|---|
| Add | Add a Relationship |
| Remove | Remove a Relationship |
| Build Relationships | Enable to start building Relationships |
This feature allows users to build SSAS relationships to optimize performance. Relationships will run with data patterns, so your data must be stable. We strongly recommend you use this feature only if you are an expert as errors can break your Application. Refer to this article for more information.
Add and Delete Attributes
Add
1. Select Add.

2. Enter a descriptive name for the Attribute.
3. Select a Type from the drop-down.
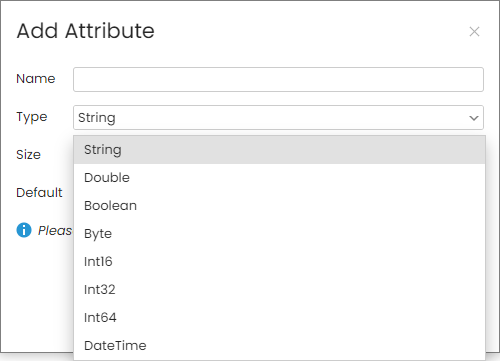
Tip: Refer to this article if you don't know what type to select.
4. Specify the Size (only for Boolean).
5. Enter or select as desired for Default. This will automatically define the field for your Members.
6. Select Save.
Delete
1. Select the Attribute(s).
2. Select Remove.
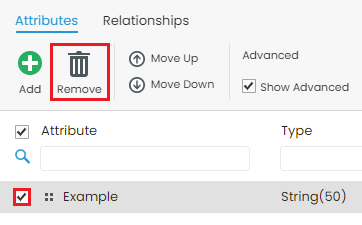
3. Click OK.
