Introduction
Models are used to capture or report on data in Applications and define the OLAP cubes generated by our software. Using the Dimensions provided in the Integrated Financial Planning Sample Application, we will provide an overview of how to use Models.
Tip: For more information on Models, review the Modeler Tutorial - Part 3.
All Models
The All Models node allows you to manage your Models.
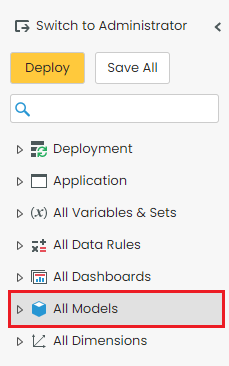
Actions

| Action | Function |
|---|---|
| Add | Add a Model |
| Remove | Remove a Model |
| Rename | Rename a Model |
Columns
| Column | Function |
|---|---|
| Model | Name of Model |
| Group | Input groups name to organize Models together |
| Records | Number of records in the Model |
| Dimension | Number of Dimensions in the Model |
| Forms | Number of Forms in the Model |
| Disabled |
Turns off the Model when Application is deployed |
| Audit | Starts an audit trail for the Model |
| Hide | Hides the Model from appearing in PivotTables when connecting via SSAS |
Add Model
1. Click Add.

2. Enter a name for the Model and click Save.
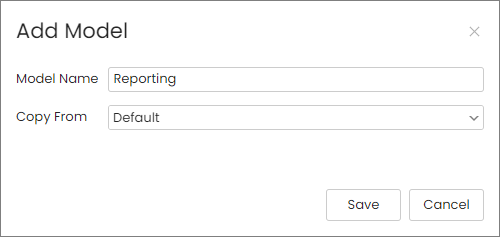
Note: Copy From allows users to create Models based on existing ones. This can save time if you already have a Model with a similar selection of Dimensions. While the structure of the Model is copied, the data is not.
Remove Model
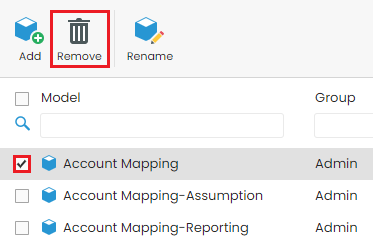
1. Select the checkboxes of the Dimensions you want to remove.
2. Click Remove.
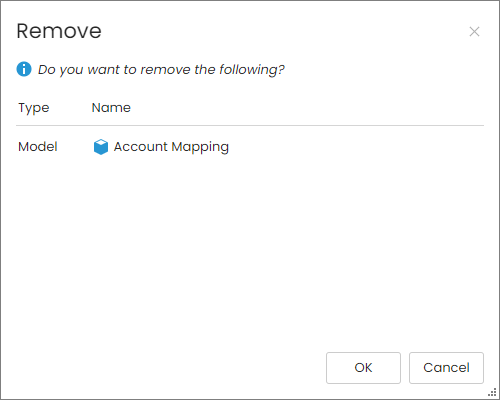
3. Click OK when the pop-up window appears.
Rename Model
1. Click Rename.

2. From the Model drop-down. select the target Model.
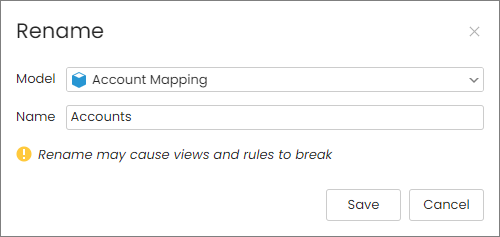
3. Enter a new name.
4. Click Save.
Group Model
1. Hover over a Model.
2. Select Edit in the Group column.

3. Enter your desired group name.

4. Click Save.
Individual Models
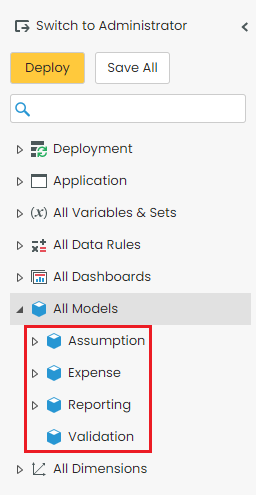
Your individual Models appear when you expand the All Models node.
Model Dimension

Actions
| Action | Function |
|---|---|
| Add | Add Dimension to Model |
| Remove | Remove Dimension from Model |
| Disable By Account | Turns off time aggregation by account |
Columns
| Action | Function |
|---|---|
| Dimension | Name of Dimension |
| Member List | Drop-down that allows you to select the Member List (often a subset of all the Dimension Members) |
| Members | Number of Members in the Member List |
Add Model Dimension
1. Click Add.

2. Select the boxes next to the Dimensions you want to add.
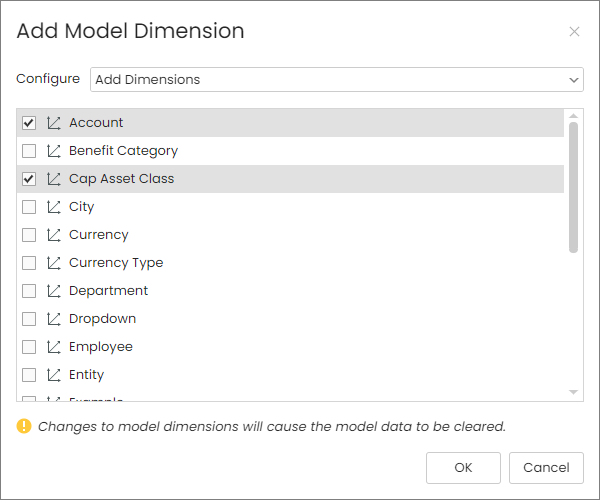
3. Click OK.
4. Select Deploy when ready.

You must deploy the Application for the changes to take effect. Deployment drops and then build all of the OLAP Cubes as defined by the Models.
Remove Model Dimension
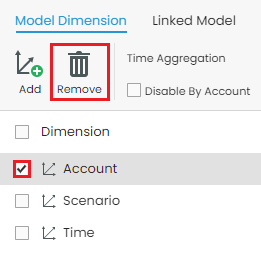
1. Select Dimension(s).
2. Click Remove.
Linked Model and Perspective
In the previous sections, we worked in the Model Dimension tab. However, there are two additional tabs: Linked Model and Perspective.

- Linked Model: Links multiple Models together so they share Measures and Dimensions. This helps create Model Validations
- Perspective: Assists with the creation of a more user-friendly interface for third-party analysis tools when connecting to a Model’s data
Tip: To learn more about Linked Models, read Use Linked Models. To learn more about perspectives, read the Configure Perspectives to Simplify Analysis.
